







Step-by-Step Fluid Leak Inspection for Cars


Start by parking your car on level ground and cleaning the engine bay.
Check fluid reservoirs and dipsticks for level and color, noting any drops or discoloration.
Inspect hoses, gaskets, and seals for cracks or damage.
Look beneath the vehicle for puddles and use a flashlight to spot hidden leaks.
For stubborn issues, add fluorescent dye and scan with a UV light in low light conditions.
Identify the exact leak source and severity to guide timely repairs.
These steps lay the foundation for deeper inspection techniques.
Table
- Main Points
- Preparing Your Vehicle for Inspection
- Identifying Common Car Fluids by Color and Smell
- Checking for Visible Fluid Leaks Underneath the Vehicle
- Inspecting Fluid Levels in Reservoirs and Dipsticks
- Examining Hoses, Gaskets, and Seals for Signs of Wear
- Using Fluorescent Dye to Trace Leaks
- Employing Ultraviolet Light to Detect Hidden Leaks
- Taking Action Based on Leak Location and Severity
- Frequently Asked Questions
- Final Thoughts
Main Points
- Clean the engine bay and park on a level surface before starting the inspection.
- Check all fluid reservoirs and use dipsticks to verify fluid levels are within recommended marks.
- Inspect hoses, gaskets, seals, and the underside for visible leaks or fluid puddles.
- Use fluorescent dye and UV light in low light to detect hidden leaks effectively.
- Identify leak location, assess severity, and prioritize repairs based on fluid type and leak urgency.
Preparing Your Vehicle for Inspection

Before you begin inspecting for fluid leaks, start by thoroughly cleaning the engine bay to remove dirt and grease, which can obscure potential leak points. Park your vehicle on a level surface to guarantee any fluid pooling beneath is accurately assessed. Gather essential tools like a UV leak detection kit and yellow safety glasses to enhance your inspection. Next, check all fluid reservoirs—engine oil, coolant, transmission fluid, brake fluid, and power steering fluid—for noticeable drops in fluid levels, which often signal leaks. Finally, methodically inspect hoses, gaskets, and seals for visible wear, cracks, or damage. For best results, always ensure a safe working environment while preparing your vehicle for inspection, as this reduces the risk of accidents and allows for more thorough and effective leak detection.
Identifying Common Car Fluids by Color and Smell

Start by examining the color and texture of any fluid leaks, as engine oil appears dark brown or black with a slick feel, while coolant can be bright green, orange, or pink and smells sweet. Transmission fluid often shows as red or brown with a distinctive sweet odor, whereas brake fluid is clear to yellowish and slightly oily. Power steering fluid shares a red or pink hue but differs in texture and is often accompanied by steering issues or noises.
 Top 7 Tips to Detect Oil Leaks Efficiently
Fluid Color Guide
Recognizing five common car fluids by their color and smell can help you quickly identify leaks and address potential issues. If you spot dark brown or black fluid, it’s likely engine oil, often slick and sometimes burnt-smelling if overdue. Coolant, ranging from bright green to orange or pink, has a sweet scent and may leak from the radiator or hoses. Transmission fluid is usually red or brown with a slightly sweet odor, signaling seal or gasket problems. Brake fluid appears clear to yellowish with an oily texture; leaks here demand immediate attention. Power steering fluid is often pink or red, and leaks can cause steering difficulties. By understanding these indicators, you can accurately identify the type of leak in your vehicle and take timely action.
Distinctive Fluid Smells
When you detect a fluid leak under your car, paying close attention to its smell as well as its color can help you pinpoint the source more accurately. Engine oil emits a distinctive greasy smell and appears dark brown or black, often leaving shiny spots. Brake fluid, which ranges from transparent to slightly yellow, has a faint, acrid odor; a noticeable drop in brake fluid level signals a serious leak demanding immediate action. Coolant’s sweet smell, due to ethylene glycol, combined with its bright green, orange, or pink color, aids identification. Transmission fluid offers a sweet scent and reddish hue, while power steering fluid is oily with a red or pink tint. Recognizing these distinctive fluid smells empowers you to diagnose leaks efficiently and maintain control over your vehicle’s health.
Checking for Visible Fluid Leaks Underneath the Vehicle

Park your car on a flat surface and inspect the area beneath the engine and transmission for fluid puddles or stains. Note the color and consistency to identify the fluid type and trace the leak’s origin. Assess the size and freshness of the leak to determine its severity and urgency for repair.
Identifying Fluid Colors
Identifying fluid colors beneath your vehicle provides critical clues for diagnosing leaks accurately. When inspecting fluid leaks, focus on color and location to isolate the source effectively. Here’s how you can distinguish common fluids:
- Engine oil appears dark brown or black with a shiny texture, indicating leaks from the oil pan or valve cover gaskets.
- Transmission fluid is typically red or brown and emits a slightly sweet odor, pointing to transmission system seal issues.
- Brake fluid ranges from clear to yellowish; spotting it near brake lines or the master cylinder demands urgent attention.
- Coolant shows bright green, orange, or pink hues and a sweet smell, which suggests radiator or hose leaks.
Using these precise color indicators sharpens your fluid leak detection process and empowers you to act decisively.
Locating Leak Origins
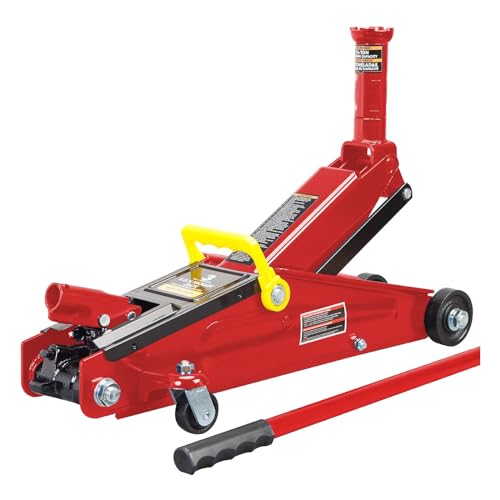
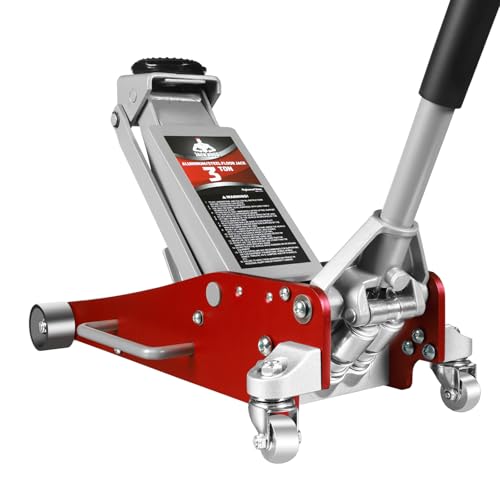
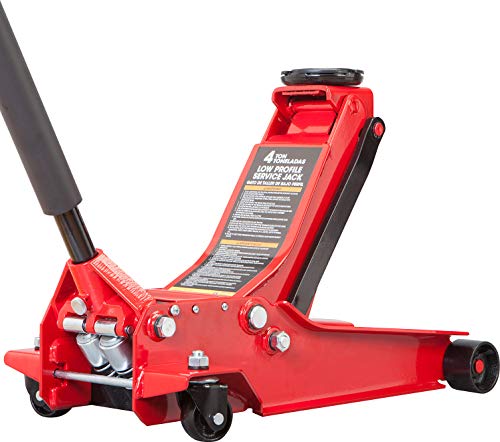
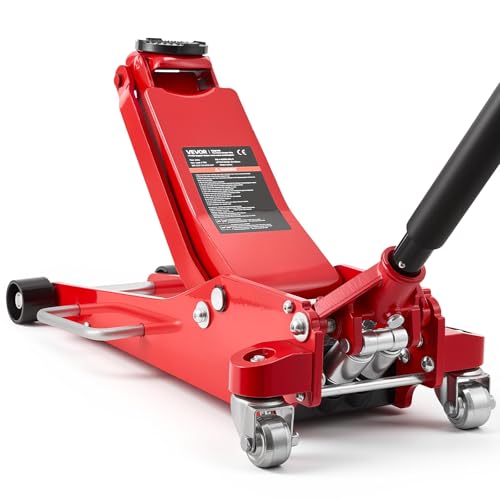
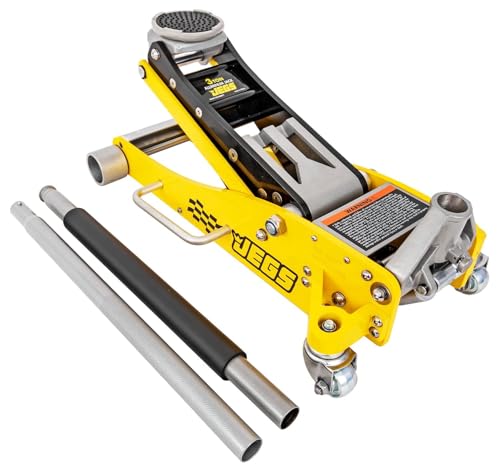
Since fluid leaks can be subtle, you should start by positioning your vehicle on a clean, dry surface to detect any new drips or stains underneath. Allow the vehicle to sit for several hours, then inspect the ground beneath the engine, transmission, and differential for puddles. Use a white paper towel to blot any leaking fluid and analyze its color and consistency—this helps distinguish oil leaks from low coolant levels or other fluids. Focus on the leak’s location: oil leaks commonly emerge near the oil pan or valve covers, while coolant leaks often originate around the radiator or hoses. Document the fluid’s characteristics and exact source to streamline diagnosis. This methodical approach lets you accurately locate leaking fluid, empowering you to address the problem with clarity and confidence. For extra safety while inspecting underneath, consider using a lightweight and portable jack to securely lift your vehicle and provide better access.
Assessing Leak Severity
When you inspect the ground beneath your vehicle, carefully look for any fluid puddles or stains that indicate a leak. Evaluating the severity of the leak helps you determine the urgency of repairs. Follow this methodical approach:
- Identify the fluid color and consistency—engine oil is dark, coolant appears bright, and brake fluid is typically clear or yellowish.
- Measure the size of the puddle; larger volumes suggest a more serious leak needing immediate attention.
- Note any distinctive smells, such as a sweet scent from coolant or sharp odor from fuel, which aid in diagnosis.
- Locate the leak source—common sites include the oil pan, radiator, and brake system lines.
For added safety during inspections, always use a quality floor jack to securely elevate your vehicle before examining the underside for leaks. This precise evaluation empowers you to address leaks efficiently and maintain vehicle safety.
Inspecting Fluid Levels in Reservoirs and Dipsticks

Anyone maintaining a vehicle should routinely inspect fluid levels in reservoirs and dipsticks to guarantee proper operation and prevent damage. Start by checking engine oil using the dipstick, ensuring the level sits between minimum and maximum marks. Next, inspect the coolant reservoir when the engine is cool; fluid should reach the “FULL” line. For the brake system, verify brake fluid is clear, light yellow, and filled to the “MAX” line—any drop suggests a leak. Check power steering fluid levels in the reservoir, ensuring they’re near the “FULL” mark; a decrease may indicate system issues. If your vehicle has a transmission dipstick, measure fluid with the engine running and in park; fluid should be bright red and within range. Precise monitoring frees you from unexpected failures.
Examining Hoses, Gaskets, and Seals for Signs of Wear

Although fluid level checks are essential, you must also examine hoses, gaskets, and seals for signs of wear to pinpoint potential leak sources. Start by methodically inspecting these components, focusing on their integrity and any visible damage.
 Why Use Specialized Tools for Fluid Leak Detection?
- Check hoses carefully for cracks, bulges, or worn spots that could cause leaks in coolant or power steering fluid.
- Examine gaskets around engine joints, especially the valve cover and oil pan, for seepage or deterioration.
- Inspect seals near rotating parts like the crankshaft and transmission for degradation that may lead to fluid escape.
- Use a flashlight to illuminate hidden connection points where hoses, gaskets, and seals meet, ensuring no damage goes unnoticed.
For added safety and easier cleanup during inspections, consider using an oil drain pan capacity suitable for your vehicle to catch and contain any leaking fluids as you work. Regular inspection liberates you from unexpected leaks and costly repairs by identifying weak points early.
Using Fluorescent Dye to Trace Leaks
Since pinpointing the exact source of a fluid leak can be challenging, adding a fluorescent dye to the suspected fluid provides a reliable tracing method. Select a dye compatible with the fluid type—oil, coolant, or transmission fluid—and introduce it into the system according to product instructions. Operate your vehicle for the recommended time to allow the dye to circulate and escape through the leak. When inspecting, use a UV light to reveal the fluorescent dye’s glow, notably improving visibility of fluid leak points, especially in complex engine areas. Conduct your examination in low light conditions and protect your eyes with yellow safety glasses to shield against UV exposure. This methodical approach empowers you to identify leaks precisely and take informed corrective action.
After introducing fluorescent dye into the vehicle’s fluid system, you’ll need an effective tool to reveal its presence at leak points. Employ ultraviolet (UV) light to detect hidden leaks leaking from your vehicle with precision. Follow these steps for ideal results:
- Set the UV light to UV mode to highlight dye seepage effectively.
- Conduct the inspection in low light conditions to maximize visibility of fluorescent traces.
- Wear yellow safety glasses to protect your eyes from harmful UV rays during examination.
- Focus on critical components like the power steering pump and regularly check the levels of all fluids.
This method grants you the freedom to identify leaks early, maintaining system integrity and preventing costly repairs. Stay vigilant and empowered in your vehicle’s upkeep.
Taking Action Based on Leak Location and Severity
When you identify a leak, pinpointing its exact location helps you determine whether gaskets, hoses, or seals are at fault and guides your repair strategy. Assess the leak’s severity by tracking fluid levels over time: rapid drops signal urgent intervention. For oil leaks near the valve cover or oil pan, replace worn gaskets or tighten bolts precisely. Coolant leaks require close inspection of hoses and the radiator; replace cracked hoses or apply sealants as needed. Transmission fluid leaks around the casing demand prompt seal or gasket repair to avoid costly failure. Importantly, if the leak involves the braking system, prioritize immediate repair to maintain safety and prevent brake fluid loss. Methodical action based on leak location and severity liberates you from escalating damage and costly repairs.
Frequently Asked Questions
How to Test What Fluid Is Leaking From a Car?
You can use fluid identification techniques like observing color, consistency, and odor, combined with leak detection methods such as UV dye kits. These car maintenance tips help you accurately determine the leaking fluid source and act promptly.
How Do Mechanics Check for Oil Leaks?
You inspect oil stains for texture and color, use specialized leak detection tools like UV dye kits, and perform a thorough engine seal inspection, systematically pinpointing leaks to liberate your vehicle from hidden oil loss issues.
What Is the Correct Procedure to Check an Engine for Oil Leaks?
You seek freedom from uncertainty, from costly repairs, from engine failure. Start with oil change checks, inspect gaskets precisely, monitor levels methodically, and maintain your engine diligently. This procedure empowers your engine maintenance and gasket replacement decisions.
How Do I Find Out Where My Car Is Leaking From?
You use leak identification methods by examining fluid color meanings—dark oil, bright coolant—and inspect common leak sources like hoses, seals, and gaskets. Employ UV dye or visual checks to precisely locate where your car’s leaking from.
Final Thoughts
By following these steps methodically, you’ll catch fluid leaks before they become a flood. Treat your car like a carefully tuned instrument—every drop matters. Checking colors, inspecting seals, and using UV light guarantees no leak hides in the shadows. With precise attention to detail, you’ll maintain peak performance and avoid costly repairs. Remember, a vigilant inspection today keeps your vehicle running smoothly tomorrow. Stay thorough, stay ahead.
 Power Steering Fluid Leak Repair Cost Guide
Reliable Floor Jacks on a Budget: Best Picks for Under $150
Top-Rated Floor Jacks Over $100: Built for Professionals, Priced for Smart Buyers
If you want to know other articles similar to Step-by-Step Fluid Leak Inspection for Cars you can visit the Fluid Leak Solutions category.
How to Identify Car Fluid Leaks Overnight

Why Fluid Leaks Threaten Vehicle Safety

How to Identify Fuel Leak Sources in Vehicles

How to Spot Brake Fluid Leak Symptoms

How to Locate a Coolant Leak Step-by-Step

Power Steering Fluid Leak Repair Cost Guide

Why Use Specialized Tools for Fluid Leak Detection?

Top 7 Tips to Detect Oil Leaks Efficiently
Leave a Reply
This is also interesting