













7 Steps to Inspect Your Exhaust System During Oil Change


To inspect your exhaust system during an oil change, first remove shrouds and shields for clear access.
Then, visually check for leaks, corrosion, cracks, and bulges. Conduct a pressure test to detect hidden leaks.
Examine exhaust hangers, mounting hardware, and guarantee secure connections. Verify proper alignment to prevent stress and wear.
Use a flashlight or borescope for internal inspection. Follow these steps carefully, and you’ll uncover key details to maintain your exhaust system’s reliability and performance.
Table
- Main Points
- Remove Shrouds and Shields to Access Exhaust Components
- Visual Inspection for Leaks and Corrosion
- Check for Cracks, Bulges, and Metal Fatigue
- Conduct a Pressure Test on the Exhaust System
- Inspect Exhaust Hangers and Mounting Hardware
- Verify Proper Alignment and Secure Connections
- Use a Flashlight or Borescope for Internal Component Inspection
- Frequently Asked Questions
- Final Thoughts
Main Points
- Remove protective shrouds to access and visually inspect the muffler, pipes, and catalytic converter for rust, corrosion, and damage.
- Check exhaust hangers and mounting hardware for rust, wear, and secure attachment to prevent vibrations and misalignment.
- Look for cracks, bulges, soot deposits, and leaks around joints and pipe bends using a flashlight or borescope.
- Verify proper alignment of all exhaust components and ensure clamps and connections are tight without gaps or misfits.
- Conduct a pressure test by sealing outlets and applying 3-5 psi to detect leaks through hissing sounds or pressure drops.
Remove Shrouds and Shields to Access Exhaust Components

To inspect your exhaust system thoroughly, start by securely lifting and supporting the vehicle to access the underbody safely. Next, carefully remove shrouds or shields that obstruct your view or access to exhaust system components. Use appropriate tools to avoid damaging these protective covers during removal. Once clear, you can inspect the system with precision, focusing on the muffler, exhaust pipes, and catalytic converter. Pay close attention to signs of damage such as rust, corrosion, or physical deformities that could signal compromised performance. Employ a flashlight or borescope to examine hard-to-reach areas, ensuring no potential issue goes unnoticed. Document all findings meticulously, preparing you to address necessary repairs or replacements confidently and maintain your vehicle’s freedom from exhaust-related failures.
Visual Inspection for Leaks and Corrosion

Start by carefully examining all exhaust pipes, mufflers, and hangers for rust, corrosion, or any physical damage that could compromise structural integrity. Pay close attention to joints and connections for soot deposits or black streaks, which often indicate exhaust leaks. Ascertain all brackets and hangers are intact and securely fastened to prevent misalignment or further wear.
Spotting Rust and Damage
Although rust and damage can develop subtly, inspecting your exhaust system during routine maintenance allows you to identify potential issues early. When you inspect your exhaust system, focus on rusted parts around flex pipes and hangers, as these areas are highly susceptible to corrosion. Carefully examine the entire system for visible damage such as cracks, holes, or compromised welds, which can undermine performance and safety. Rusted parts weaken structural integrity and may lead to failures if left unchecked. Use a flashlight to spot discoloration or soot deposits near joints, signaling possible leaks. By proactively detecting rust and visible damage, you free yourself from unexpected breakdowns and costly repairs, maintaining your vehicle’s efficiency and your autonomy on the road.
 Professional Exhaust System Inspection Costs Explained
Identifying Leak Indicators
After spotting rust and damage on your exhaust system, the next step involves identifying indicators of leaks that may compromise its function. Carefully inspect the system for exhaust soot or discoloration near joints and bends—these spots often reveal exhaust leaks. Listen closely for unusual noises such as hissing or popping while the engine runs; these sounds often signal compromised seals or gaskets. Check for excessive vibrations or loose components caused by broken or missing hangers, which can misalign the system and accelerate wear. Prioritize examining gaskets and seals for visible damage, as they’re frequent leak sources affecting performance. Detecting these signs early allows you to plan timely exhaust system repair, preventing further damage and liberating your vehicle’s efficiency.
Check for Cracks, Bulges, and Metal Fatigue

When inspecting your exhaust system, carefully identify any visible cracks, bulges, or distortions, paying close attention to pipe bends where metal fatigue commonly occurs. Use focused lighting to detect subtle surface irregularities that may indicate structural weakness. These signs can compromise exhaust integrity and warrant immediate attention to maintain performance and safety.
Identify Visible Damage
Start by closely examining the exhaust system at all pipe bends, as these areas endure the most stress and are prone to developing cracks and bulges. You need to inspect the exhaust thoroughly, looking for signs of exhaust leaks, such as soot deposits or visible metal fatigue. Detecting cracks, bulges, or distortions early allows you to schedule necessary repairs before failure occurs. Use a flashlight to reveal hidden defects and check hangers for rust or damage that might misalign the system.
| Visible Damage Type | Inspection Tip |
|---|---|
| Cracks | Look for fine splits |
| Bulges | Check for pipe distortions |
| Metal Fatigue | Identify thinning metal |
| Soot Deposits | Signs of exhaust leaks |
| Rust on Hangers | Assess for support failure |
Inspect Pipe Bends
Focus your inspection on the pipe bends, as these sections endure significant stress and are prone to developing cracks, bulges, and metal fatigue. When you inspect the system, pay close attention to these critical points on the exhaust pipes to maintain vehicle safety and performance.
- Check for cracks along the bends, which often result from constant pressure and movement, risking sudden failure.
- Identify bulges that indicate internal pressure buildup or advanced metal fatigue—both warning signs of impending damage.
- Observe discoloration or thinning of the pipe material, subtle indicators of metal fatigue compromising structural integrity.
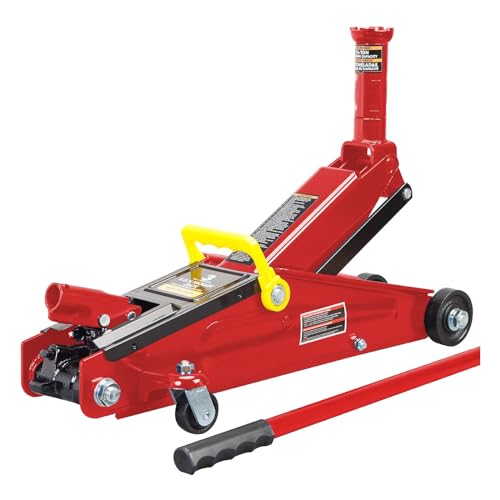
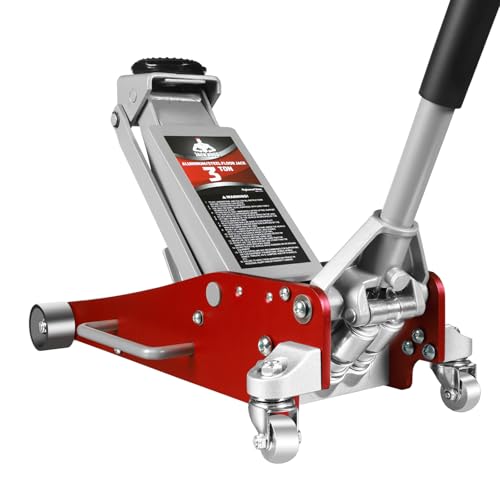
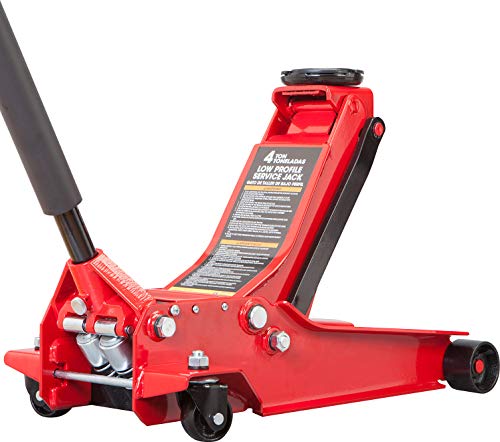
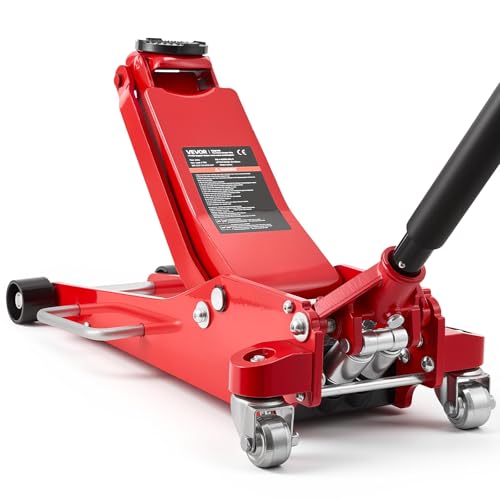
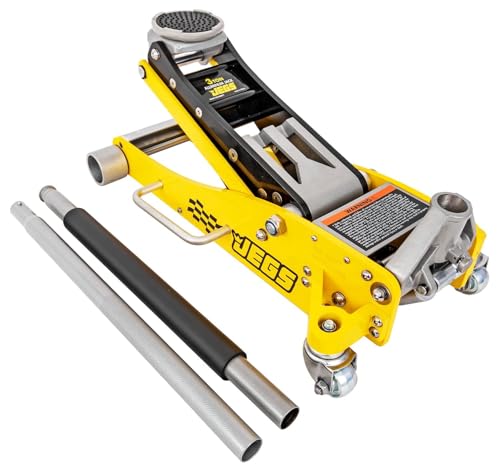
Use a flashlight or borescope to thoroughly check the exhaust, including internal surfaces, ensuring no defects go unnoticed during your inspection. For best results and to ensure your vehicle is safely elevated during this process, consider using a quality floor jack to provide stable access to the undercarriage.
Detect Structural Weakness
Although pipe bends often receive the most attention, you should meticulously inspect the entire exhaust system for structural weaknesses such as cracks, bulges, and signs of metal fatigue. Use a flashlight or borescope to examine internal surfaces, as some defects remain hidden externally. Look closely for cracks along pipes and joints, as these fractures compromise integrity and cause leaks. Check for bulges, particularly near bends, which indicate internal pressure buildup or metal distortion. Assess for metal fatigue by identifying thin, uneven, or warped areas that weaken the system’s durability. Regularly monitor wear indicators like rust and heat stress to catch early failures. By rigorously inspecting these structural weaknesses, you guarantee your exhaust system maintains peak function and prevents performance loss or hazardous leaks.
Conduct a Pressure Test on the Exhaust System

When you conduct a pressure test on the exhaust system, you use a shop vac or regulated air to pressurize the system between 3 and 5 psi, which helps you identify leaks or weaknesses. Before applying pressure, seal all exhaust outlets to prevent air escape that could distort results. During the test, focus on these critical steps:
Pressurize the exhaust system at 3-5 psi, sealing outlets to detect leaks or weaknesses effectively.
3 Best Ways to Inspect Your Car’s Exhaust
- Listen for hissing sounds indicating air escaping through cracks or holes.
- Inspect exhaust components for soot deposits, bulges, or distortions signaling compromised integrity.
- Monitor pressure levels for any significant drops that reveal system breaches.
Inspect Exhaust Hangers and Mounting Hardware

A thorough inspection of exhaust hangers and mounting hardware is essential during routine maintenance, such as an oil change. You need to closely inspect the exhaust hangers for rust, wear, or damage, since they support the exhaust system and reduce vibrations. Examine all mounting hardware carefully, ensuring bolts and brackets are secure and free from corrosion. Pay special attention to rubber insulators—if any are broken or missing, the exhaust system may move excessively, risking damage to adjacent components. Also, check for any contact points between the exhaust system and vehicle parts, as this can indicate worn hangers. By diligently inspecting exhaust hangers and mounting hardware, you prevent premature wear, maintain system integrity, and uphold your vehicle’s performance and safety.
Verify Proper Alignment and Secure Connections
Three critical steps guarantee your exhaust system maintains proper alignment and secure connections during inspection. First, inspect all exhaust pipes and components to verify correct alignment; misalignment causes undue stress and premature wear. Second, examine connection points between the muffler, catalytic converter, and pipes for visible gaps or misfits that restrict exhaust flow and degrade performance. Third, make certain all exhaust clamps are tightly fastened and free from rust or wear; loose clamps lead to leaks and noise. By methodically checking these elements, you prevent pinched or bent components that increase backpressure and reduce engine efficiency. Taking these precise steps liberates you from hidden exhaust issues, making sure your system operates safely and effectively.
Use a Flashlight or Borescope for Internal Component Inspection
Although external inspections reveal many issues, you’ll need a flashlight or borescope to thoroughly examine the exhaust system’s internal components. Use a flashlight to illuminate joints and surfaces, identifying cracks, rust, or soot accumulation—key indicators of leaks or weakening seals. For a more thorough internal inspection, insert a borescope equipped with a camera into the exhaust pipes. This tool lets you detect internal corrosion, blockages, or structural damage invisible from the exterior. Capture images or videos to document your findings, facilitating precise diagnostics and future reference. Regular use of these tools empowers you to spot problems early, preventing costly repairs and maintaining your exhaust system’s integrity. Adopt this meticulous approach to liberate your vehicle from unexpected failures and optimize performance.
Frequently Asked Questions
How Often Should a Mechanic Examine Your Exhaust System?
You should have a professional assess your exhaust system wear at least annually or every 12,000 miles. Routine inspection importance grows if you notice signs of damage, ensuring peak performance and preventing costly failures through timely, precise evaluation.
How Is Exhaust System Maintenance Done?
Like tuning a finely crafted instrument, you inspect exhaust hangers, check muffler condition, examine the catalytic converter, and hunt exhaust leaks. This precise maintenance liberates your engine’s power and guarantees clean, efficient performance.
What Daily Checks Should Perform to Help Support a Proper Functioning Exhaust System?
You should check daily for exhaust leaks, inspect muffler condition, monitor pipe corrosion, and guarantee heat shields are intact. These steps prevent damage, optimize performance, and liberate you from costly repairs or safety risks.
What Should You Look for When Inspecting the Exhaust System From the Passenger Side?
About 30% of exhaust failures start on the passenger side. You should check for exhaust leaks, heat shields loosened by rust corrosion, and secure mounting brackets. Catching these preserves your freedom from costly repairs.
Final Thoughts
So, next time you’re changing oil, don’t just pretend your exhaust system is a mythical creature that fixes itself. Roll up your sleeves, remove those shrouds, and get your hands dirty inspecting for leaks, cracks, and misalignments. Because ignoring exhaust issues won’t make them vanish—it’ll just make your car noisier and your wallet lighter. Trust me, a well-checked exhaust isn’t just tech talk; it’s the silent hero keeping your ride smooth and legal.
 When to Schedule an Exhaust System Inspection
Reliable Floor Jacks on a Budget: Best Picks for Under $150
Top-Rated Floor Jacks Over $100: Built for Professionals, Priced for Smart Buyers
If you want to know other articles similar to 7 Steps to Inspect Your Exhaust System During Oil Change you can visit the Exhaust System Care category.
3 Best Ways to Inspect Your Car’s Exhaust

Professional Exhaust System Inspection Costs Explained

10 Tips to Spot Exhaust Leaks During Inspection

Why Follow an Exhaust System Inspection Checklist?

Exhaust System Inspection Steps for Car Owners

Why Schedule Exhaust System Inspection Annually?

7 Tips for Exhaust Inspection After Emissions Failure

10 Tips for Inspecting Used Car Exhaust Systems
Leave a Reply
This is also interesting