














Exhaust System Inspection Steps for Car Owners


To inspect your exhaust system, first park on level ground, turn off the engine, and gather tools like a flashlight. Visually check the manifold, pipes, and muffler for rust, cracks, or damage. Listen for unusual noises or use soapy water to spot leaks at joints and welds. Tighten loose bolts and apply high-temp epoxy or tape for small repairs. Document any issues clearly. Following these steps guarantees safety and efficiency, with more details available to enhance your inspection skills.
Table
Main Points
- Park the car on a flat surface, turn off the engine, and let it cool before starting the exhaust inspection.
- Visually check exhaust manifold, pipes, catalytic converter, and muffler for rust, cracks, or damage.
- Listen for unusual noises like hissing while the engine runs to detect possible exhaust leaks.
- Use soapy water on joints and connections to reveal escaping gases indicating leaks.
- Document findings clearly and tighten loose bolts or apply high-temperature epoxy for minor repairs.
Preparing Your Vehicle for Exhaust System Inspection

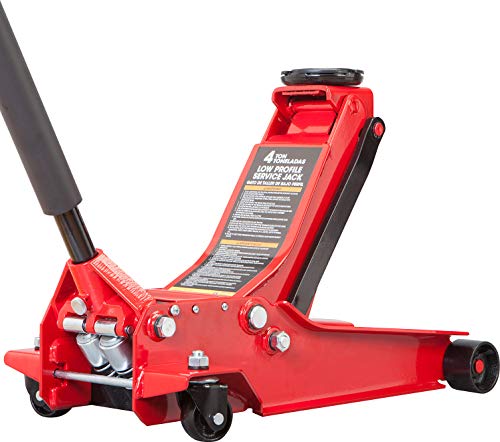
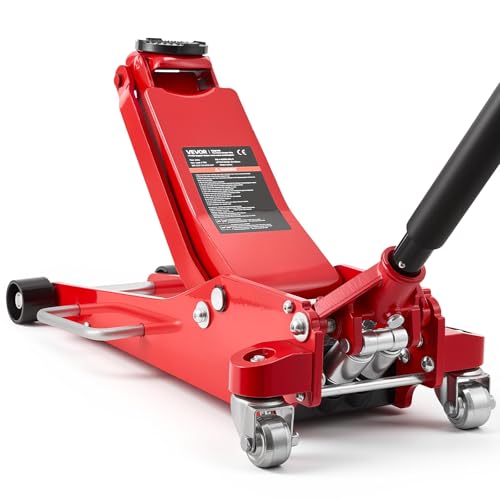
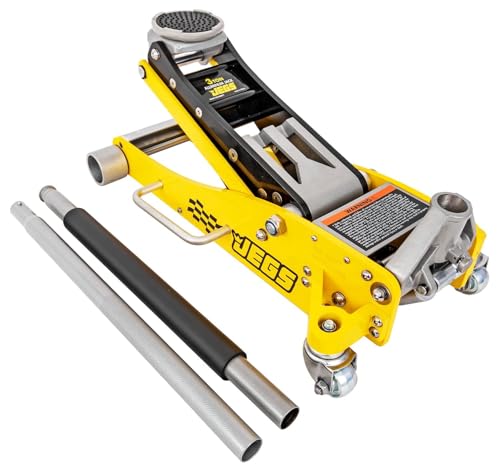
Before you begin inspecting your exhaust system, make certain your vehicle is parked on a flat, stable surface to assure safety and ease of access. Verify the engine is turned off and cooled down to prevent burns. Gather essential tools like a flashlight, jack, and jack stands to facilitate your inspection. Familiarize yourself with the exhaust system components—manifold, catalytic converter, and muffler—to accurately identify potential issues. Prepare a checklist to document any visible damage such as rust, cracks, or leaks during your inspection. Prioritizing these steps assures a thorough, safe examination of your vehicle’s exhaust system and helps you detect early signs of damage, preserving your vehicle’s performance and your personal safety.
Conducting a Visual Inspection of Exhaust Components

When you start your visual inspection of the exhaust components, focus on the exhaust manifold, pipes, and catalytic converter, carefully checking for cracks, rust, or corrosion that might signal leaks or structural damage. Next, examine the muffler and resonator for internal damage like bulging or unusual wear, which compromises efficiency and increases noise. Inspect all connection points, including hangers and clamps, ensuring they’re properly secured and don’t contact other parts, preventing further damage. While the engine runs, listen for unusual noises such as hissing or tapping, as these might indicate leaks within the exhaust system. Performing these visual inspections during routine maintenance helps you identify damage early, preserving your vehicle’s safety, performance, and environmental compliance.
 Why Follow an Exhaust System Inspection Checklist?
Detecting and Diagnosing Exhaust Leaks

After visually inspecting the exhaust components, focus on detecting leaks that can compromise system performance and safety. Start the engine and listen carefully for unusual noises such as hissing or tapping, which often signal exhaust leaks. Perform a thorough inspection using soapy water on joints and suspected points; bubbles will reveal escaping gases. Pay close attention to connection points, welded areas, and overall condition for cracks, rust, or holes. Decreased fuel efficiency and unusual vibrations also indicate potential leaks. If you can’t locate the source despite this detailed inspection, seek professional advice. Experts can diagnose hidden leaks not visible during visual inspection, ensuring your exhaust system maintains ideal function and your vehicle’s performance stays liberated from inefficiencies and safety risks.
Performing Basic Repairs on Small Leaks

Three essential steps will help you effectively perform basic repairs on small exhaust leaks. Start by thoroughly cleaning the affected exhaust system area with a wire brush or sandpaper to guarantee proper adhesion. Then, apply a high-temperature exhaust epoxy to seal cracks or holes, following product instructions carefully for a proper seal. For minor pipe separations, use high-temp exhaust tape or clamps as a temporary fix until a permanent repair is possible. Finally, inspect and tighten any loose bolts to prevent leaks from recurring. Allow any epoxy or tape repairs to cure fully before running the engine, guaranteeing the repair withstands exhaust fumes and heat, restoring your system’s integrity and preventing harmful emissions from escaping.
- Clean affected area
- Apply high-temp epoxy
- Use exhaust tape/clamps for temporary fix
- Tighten loose bolts
Communicating Findings and Recommended Repairs to Customers

Although identifying exhaust system issues requires technical expertise, effectively communicating those findings and recommended repairs to customers demands equal attention to detail. Use thorough checklists during inspections to document each component’s condition, guaranteeing transparency. Clearly differentiate between mandatory repairs for safety and functionality versus suggested enhancements, empowering customers in decision-making. Emphasize legal compliance, particularly regarding emissions systems, to highlight the importance of adhering to EPA regulations. Enhance communication by providing visual aids like photos or diagrams that illustrate findings and recommended repairs, fostering trust. Maintain open communication channels with customers, delivering regular updates on inspection results and potential issues. This precise, transparent approach guarantees customers understand their exhaust system’s status fully and the necessity of repairs, liberating them from uncertainty.
Frequently Asked Questions
How to Inspect a Car Exhaust System?
You’ll inspect pipe integrity, muffler condition, and catalytic converter for rust damage or exhaust leaks. Check hangers support, listen for sound changes, detect fumes, and assess emission levels to identify repair options precisely and confidently.
 10 Tips to Spot Exhaust Leaks During Inspection
What Are the Areas of an Exhaust System That Require a Thorough Inspection?
Like a detective hunting clues, you’ll focus on muffler condition, pipe rusting, catalytic converter, hangers support, heat shields, and exhaust leaks. Visual inspection reveals exhaust fumes, noise levels, and guarantees emissions testing passes.
How Often Should Your Exhaust System Be Checked by a Qualified Mechanic?
You should schedule professional inspections every two years to monitor exhaust lifespan, maintenance frequency, and replacement signs. Address noise issues, leaks, rust prevention, and emission standards promptly. Combine DIY checks to detect performance impact early.
What Should You Look for When Inspecting the Exhaust System From the Passenger Side CDL?
You’ll want to perform a visual inspection for pipe corrosion, exhaust leaks, and muffler condition. Check catalytic converter heat shields, exhaust hangers, and noise levels. Consider emission testing and evaluate repair options to guarantee system integrity.
Final Thoughts
By thoroughly inspecting your exhaust system, you guarantee peak performance and safety. Contrary to the myth that small leaks are harmless, even minor cracks can lead to dangerous carbon monoxide buildup and reduced fuel efficiency. Always start with a detailed visual check, then use diagnostic tools to pinpoint leaks accurately. Addressing issues early prevents costly repairs down the line. Stay diligent—your car’s health depends on it, and so does your safety on the road.
 7 Steps to Inspect Your Exhaust System During Oil Change
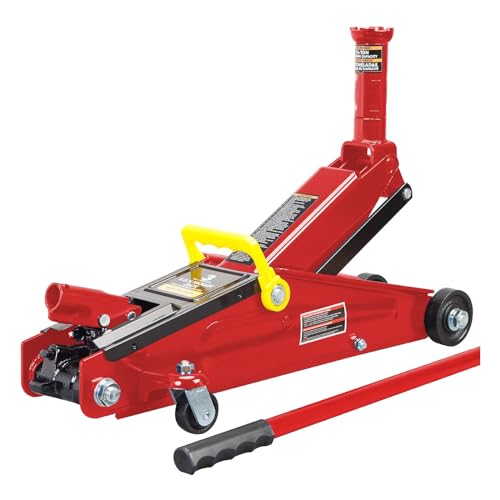
Reliable Floor Jacks on a Budget: Best Picks for Under $150
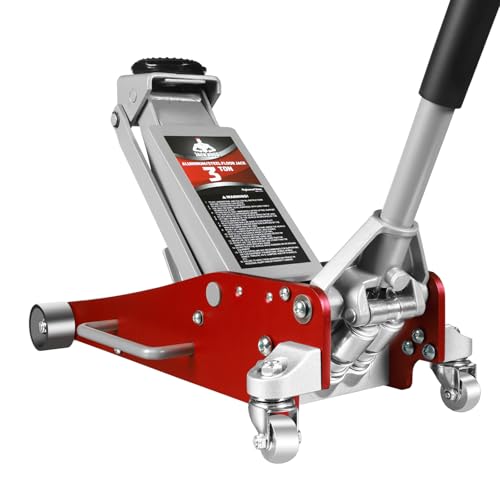
Top-Rated Floor Jacks Over $100: Built for Professionals, Priced for Smart Buyers
If you want to know other articles similar to Exhaust System Inspection Steps for Car Owners you can visit the Exhaust System Care category.
3 Best Ways to Inspect Your Car’s Exhaust

Professional Exhaust System Inspection Costs Explained

7 Steps to Inspect Your Exhaust System During Oil Change

10 Tips to Spot Exhaust Leaks During Inspection

Why Follow an Exhaust System Inspection Checklist?

Why Schedule Exhaust System Inspection Annually?

7 Tips for Exhaust Inspection After Emissions Failure

10 Tips for Inspecting Used Car Exhaust Systems
Leave a Reply
This is also interesting