








How to Locate a Coolant Leak Step-by-Step


To locate a coolant leak step-by-step, first verify your engine is cool and park on a level surface.
Check the coolant reservoir for cracks and low fluid levels.
Visually inspect the radiator, hoses, water pump, and engine blocks for stains or dampness.
Use a pressure test or add a coolant dye to trace leaks accurately.
If the problem persists or is hard to find, professional tools and expertise may be needed.
Keep going to understand detailed inspection and repair methods.
Table
- Main Points
- Recognizing Signs of a Coolant Leak
- Preparing Your Vehicle for Inspection
- Conducting a Visual Inspection of the Engine Bay
- Checking Coolant Levels and the Reservoir
- Exploring Pressure Test Alternatives
- Using a Coolant Dye Test to Locate Leaks
- Identifying Common Leak Points in the Cooling System
- Seeking Professional Diagnosis and Repair Assistance
- Frequently Asked Questions
- Final Thoughts
Main Points
- Park on a level surface, ensure the engine is cool, and inspect the coolant reservoir and radiator for visible cracks or low fluid levels.
- Look for brightly colored puddles or stains under the vehicle and around hoses, radiator, water pump, and engine block.
- Check hoses and connections for bulges, damp spots, or damage indicating potential leaks.
- Smell for a sweet odor near the engine bay and watch for white exhaust smoke signaling coolant burning.
- If leaks are not visible, use professional pressure and dye tests for accurate leak detection and repair.
Recognizing Signs of a Coolant Leak

Spotting a coolant leak early can save you from costly engine damage. Start with a visual inspection under your vehicle for brightly colored puddles—green, orange, pink, or yellow—indicating a coolant leak. Next, check the coolant reservoir; if you’re frequently topping it off, you likely have a slow leak. Monitor your temperature gauge closely; a rising reading or warning light signals engine overheating due to coolant loss. Also, smell around the engine compartment for a sweet scent, a reliable sign of leaking coolant. Finally, watch for white smoke from the exhaust, a clear indicator that coolant is entering the engine and burning with fuel. By regularly checking these signs of a coolant leak, you empower yourself to act promptly and protect your radiator and engine system.
Preparing Your Vehicle for Inspection
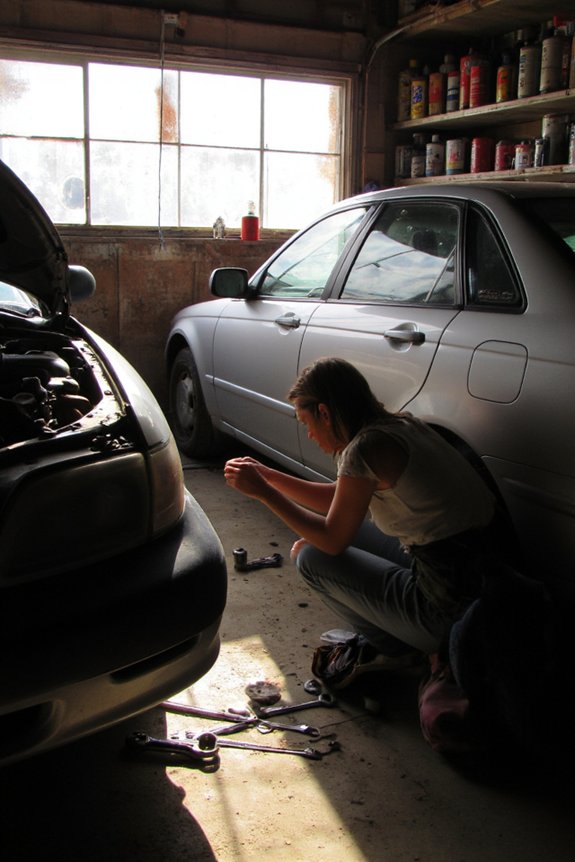
Before you begin inspecting for a coolant leak, take several key steps to prepare your vehicle. First, verify the engine is cool to avoid burns from hot components. Park your vehicle on a level surface; this prevents coolant from pooling and allows accurate inspection. Then, open the hood and inspect the coolant reservoir for cracks or low fluid levels. Next, inspect the radiator, hoses, and connections for visible signs of damage such as bulges, cracks, or wet spots. Finally, prepare a pressure test by setting up a clean, dry area beneath the vehicle to catch any drips during testing. Proper preparation liberates you to confidently inspect the engine and diagnose leaks efficiently without unnecessary hazards.
 How to Spot Brake Fluid Leak Symptoms
Conducting a Visual Inspection of the Engine Bay
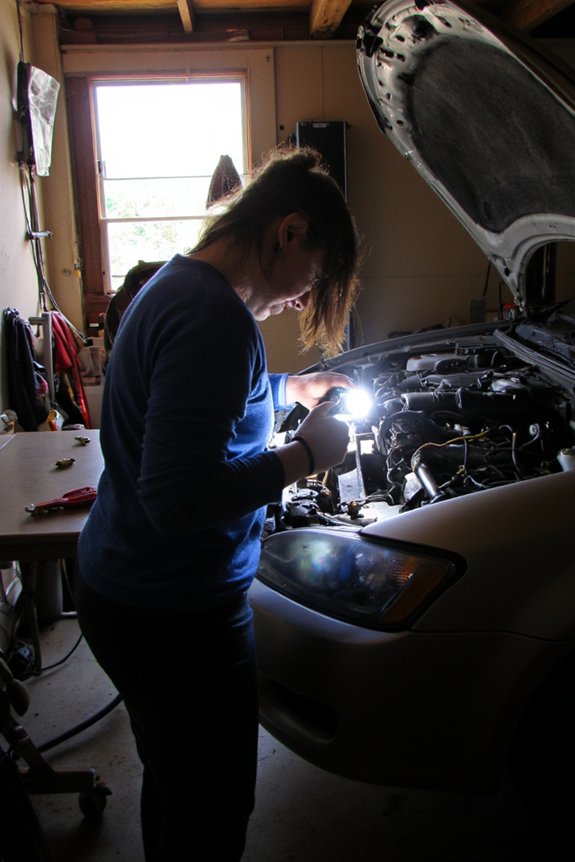
With your vehicle properly prepared, you can begin a thorough visual inspection of the engine bay. First, check the engine compartment for any signs that make you suspect a coolant leak—look for colored fluid, stains, or puddles, especially around the radiator and coolant reservoir. Next, inspect the radiator carefully for visible cracks or corrosion that could cause coolant to escape. Examine all hoses for damage like bulges or damp spots. Don’t overlook areas around the water pump and engine block; stains or wetness here might indicate a leak. Finally, check for a coolant presence on the engine’s surfaces and in hard-to-see damp patches. This precise inspection lets you pinpoint issues without guesswork, freeing you to address leaks confidently and efficiently.
Checking Coolant Levels and the Reservoir
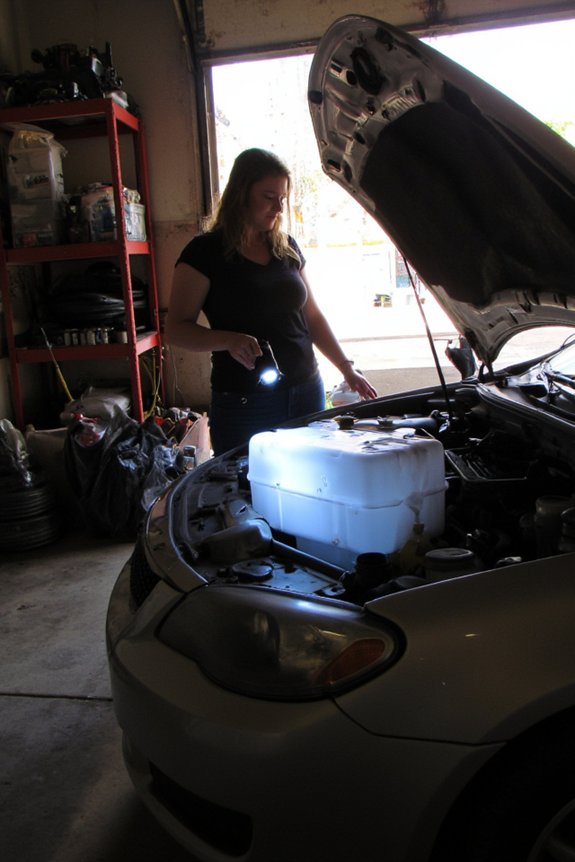
Start by confirming your engine is completely cool and your vehicle is parked on a level surface before you check the coolant reservoir. Begin your routine by performing a thorough visual inspection of the coolant reservoir. Verify there’s no damage or discoloration and that the coolant sits at the recommended level. When checking coolant levels, follow these steps:
- Inspect the coolant reservoir for cracks or leaks and verify the coolant is at or above the recommended level.
- If you notice low coolant, carefully fill coolant with the correct type specified by the manufacturer.
- After filling, run the engine briefly and recheck the reservoir for changes in fluid level, which may indicate active coolant leaks.
This precise method guarantees you maintain ideal coolant levels and detect leaks early.
Exploring Pressure Test Alternatives

After confirming coolant levels and inspecting the reservoir, you might want to verify the integrity of the entire cooling system. While a pressure test is a common method to pressurize the cooling system and locate the leak, alternatives exist if you lack specialized tools. For instance, a thorough inspection of the engine and its components can reveal signs of wear or where coolant is leaking. You should carefully monitor areas like hoses, the radiator, and water pump for wet spots or corrosion. Performing a pressure test manually with a hand pump is effective but requires caution to avoid damage. If leaks remain elusive, consider inspecting the system when the engine is at operating temperature, as thermal expansion may expose hidden leaks and help you find the source more reliably.
Using a Coolant Dye Test to Locate Leaks
Although locating coolant leaks can be challenging, using a coolant dye test offers a reliable method to pinpoint their source. You start by adding a fluorescent dye to the coolant system after removing a small coolant amount to accommodate the dye. Run the engine for 15 minutes to circulate the dye thoroughly. Then, use a high-intensity UV light to inspect the engine bay carefully. Look for bright green or yellow visible stains indicating the source of the leak. Follow these steps to identify leaks efficiently:
Using fluorescent dye and UV light simplifies finding tricky coolant leaks quickly and accurately.
- Add the correct dye amount per manufacturer instructions and run the engine cold.
- Inspect the entire coolant system under UV light in a clean, dry environment.
- Mark visible stains and consider professional assistance to prevent future leaks.
This method guarantees precise leak detection and helps maintain your vehicle's integrity.
Identifying Common Leak Points in the Cooling System
Once you've used a coolant dye test to trace leaks, focus on inspecting the most common failure points within the cooling system. Check the coolant reservoir for cracks, visible areas of the engine like hoses and radiator for bulges or corrosion, and the water pump for drips. The head gasket often shows common signs of failure, including coolant to leak internally. Don’t overlook the heater core, which can leak into the cabin, causing wet carpets or a sweet smell. Pinpointing the source of the coolant lets you plan how to repair a coolant leak efficiently.
| Component | Common Signs | Action to Take |
|---|---|---|
| Radiator | Cracks, corrosion | Inspect, replace if damaged |
| Hoses | Bulges, cracks | Tighten or replace |
| Water Pump | Coolant drips, corrosion | Repair or replace |
| Head Gasket | Coolant leak, engine overheating | Professional inspection |
| Heater Core | Sweet smell, wet carpets | Check and repair if needed |
Seeking Professional Diagnosis and Repair Assistance
If you notice persistent coolant loss or suspect a hard-to-find leak, you should seek professional diagnosis to avoid engine damage. Certified mechanics use specialized tools like pressure and dye tests to accurately pinpoint leaks beyond visual inspection. To guarantee quality repair, choose a reliable shop with experience in your vehicle make, verified through recommendations or reviews.
 How to Identify Fuel Leak Sources in Vehicles
Benefits of Professional Mechanics
Because coolant leaks can be difficult to detect and diagnose accurately, relying on professional mechanics is essential for effective repairs. They use specialized tools to test the system's pressure and locate leaks early, preventing extensive engine damage. Here’s why you should trust professionals:
- Professional mechanics identify hidden issues like internal coolant leaks or head gasket failures that visual checks miss.
- They perform repairs with correct parts and techniques, ensuring durability and minimizing future leaks.
- Many shops back their work with warranties, giving you peace of mind and protecting your investment.
When to Seek Help
Relying on professional mechanics becomes necessary when visual inspections and pressure tests don’t pinpoint the source of a coolant leak. Persistent leaks or unclear signs of damage like smoke from the exhaust or a faulty radiator cap indicate deeper issues. If you notice these symptoms or if your engine risks overheating, don’t delay—schedule an appointment. Certified technicians use advanced diagnostic tools to locate hidden leaks and prevent costly repairs by addressing all affected components thoroughly. Ignoring a coolant leak can escalate engine damage, increasing repair expenses and downtime. Seeking expert help guarantees accurate identification and thorough repair, protecting your vehicle’s cooling system and maintaining its performance. Act promptly to safeguard your engine’s health and avoid unnecessary breakdowns.
Choosing a Reliable Shop
Where can you find a trustworthy shop to handle your coolant leak diagnosis and repair? To guarantee quality service, you need to choose mechanics who hold relevant certifications and specialize in your vehicle’s make and model. This expertise ensures precise diagnostics and effective repairs. Follow these steps:
- Seek recommendations from trusted sources familiar with coolant system issues.
- Verify the shop’s certifications and review customer feedback to confirm their quality standards.
- Request a detailed estimate covering parts, labor, and inquire about their warranty policy to avoid surprises.
Frequently Asked Questions
How to Figure Out Where Coolant Is Leaking?
You’ll master coolant leak detection by combining hose inspection techniques, radiator pressure tests, and dye testing methods. Watch for coolant puddle identification and engine overheating signs, while ruling out water pump failure, thermostat malfunction, and practicing coolant system maintenance diligently.
How Do You Investigate a Coolant Leak?
You’ll start by inspecting the coolant reservoir and radiator, then examine hoses and engine components. Use pressure testing and dye testing for leak detection, while monitoring the temperature gauge to guarantee your coolant system stays reliable and free.
What Is the Common Spot for a Coolant Leak?
You’ll often find coolant leaks around hose connections, radiator cap, water pump, and thermostat housing. Check the coolant reservoir, engine block, heater core, oil cooler, and freeze plugs for cracks or damage causing fluid escape.
How Do You Suspect a Coolant Leak?
Think your coolant system’s a perfect fortress? Nope. Spot fluid stains, watch reservoir levels, inspect hoses, and pressure test. Engine overheating screams leak detection. Radiator check and maintenance tips liberate you from silent, sneaky coolant betrayals.
Final Thoughts
Now that you’ve learned how to pinpoint a coolant leak, you’re equipped to tackle this issue like a seasoned mechanic—or even a 1920s garage wizard. By carefully inspecting, testing, and identifying common leak points, you can save time and prevent engine damage. Remember, if the problem persists, don’t hesitate to seek professional help. Staying vigilant and methodical guarantees your cooling system runs smoothly and your vehicle stays reliable on every journey.
 Why Fluid Leaks Threaten Vehicle Safety
Reliable Floor Jacks on a Budget: Best Picks for Under $150
Top-Rated Floor Jacks Over $100: Built for Professionals, Priced for Smart Buyers
If you want to know other articles similar to How to Locate a Coolant Leak Step-by-Step you can visit the Fluid Leak Solutions category.
How to Identify Car Fluid Leaks Overnight

Why Fluid Leaks Threaten Vehicle Safety

How to Identify Fuel Leak Sources in Vehicles

How to Spot Brake Fluid Leak Symptoms

Power Steering Fluid Leak Repair Cost Guide

Why Use Specialized Tools for Fluid Leak Detection?

Top 7 Tips to Detect Oil Leaks Efficiently

Step-by-Step Fluid Leak Inspection for Cars
Leave a Reply
This is also interesting