









10 Key Items Covered in Suspension Checks


When checking your suspension, you’ll inspect shock absorbers and struts for leaks or damage, then assess coil and leaf springs for cracks or deformation.
Evaluate control arms, bushings, and tie rods for wear, looseness, and corrosion. Measure wheel height to confirm a level stance and examine tire wear patterns.
Perform a bounce test per corner, check for fluid leaks, and verify that fasteners are tight and secure.
These steps guarantee safe, smooth handling and reveal critical details about suspension health.
Table
- Main Points
- Assessing Shock Absorbers for Wear and Leaks
- Inspecting Struts and Their Mounting Points
- Checking Coil Springs and Leaf Springs for Damage
- Evaluating Control Arms and Bushings Condition
- Measuring Wheel Height and Vehicle Stance
- Detecting Uneven Tire Wear Patterns
- Examining Tie Rod Ends and Steering Linkages
- Performing the Bounce Test on Each Vehicle Corner
- Looking for Signs of Fluid Leakage Around Suspension Parts
- Verifying Fastener Tightness and Component Security
- Frequently Asked Questions
- Final Thoughts
Main Points
- Inspect shock absorbers and struts for leaks, damage, and unusual noises indicating wear or failure.
- Check coil and leaf springs for cracks, corrosion, deformation, and mounting integrity.
- Evaluate control arms, bushings, and tie rod ends for wear, cracks, looseness, and deteriorated rubber components.
- Measure vehicle stance and wheel height to detect misalignment and uneven tire wear patterns like cupping or edge wear.
- Perform a bounce test on each corner and inspect fasteners for tightness, rust, and fluid leakage around suspension parts.
Assessing Shock Absorbers for Wear and Leaks

When evaluating shock absorbers for wear and leaks, start by visually inspecting the seals for any oil leakage, as this indicates compromised performance. Leaking fluid around the shock absorbers’ seals suggests they’re no longer dampening vehicle movement effectively and may require replacement. Conduct a bounce test by pressing down firmly on the bumper; if the vehicle bounces excessively afterward, it confirms worn shocks. Regular inspection is essential—check shock absorbers every 12,000 miles or at least annually to maintain peak handling and safety. Pay close attention for unusual noises like clunking over bumps, signaling potential shock absorber failure. A thorough inspection of shock absorbers keeps your suspension system functioning efficiently, ensuring you stay liberated from unexpected breakdowns and unsafe driving conditions.
Inspecting Struts and Their Mounting Points

Although struts serve the dual purpose of absorbing shocks and supporting your vehicle's structure, you must inspect them regularly for fluid leaks, physical damage, and wear. Begin by examining the struts for any signs of fluid seepage or dents that indicate wear and tear. Next, focus on the mounting points—the critical connections securing struts to the vehicle’s body. Check for rust, corrosion, or looseness, which compromise stability and safety. Inspect rubber bushings on the mounts for cracks or tears, as damaged bushings increase noise and impair handling. Perform a bounce test: push down on the vehicle and observe if it continues to bounce, signaling worn struts. Conduct this inspection every 12,000 miles or annually to maintain peak suspension performance and your freedom on the road.
Checking Coil Springs and Leaf Springs for Damage

You should carefully inspect coil springs for cracks, corrosion, or signs of wear that compromise their integrity. For leaf springs, verify proper alignment and check for broken or sagging leaves that affect load support. Accurate measurements and visual checks help detect early damage and prevent suspension failures.
Spring Cracks and Wear
Since coil springs and leaf springs play a critical role in absorbing shocks and supporting your vehicle's weight, checking them for cracks, deformation, or wear is crucial. You need to inspect coil springs carefully for spring cracks or any deformation that may reduce tension. Leaf springs require close attention to wear signs like sagging or broken leaves. Also, examine mounting points for corrosion or rust that can weaken the assembly. Prompt replacement upon detecting damage guarantees safety and ride comfort. Focus on these key areas:
- Visible spring cracks on coil springs
- Deformation or uneven spacing in coil springs
- Sagging or fractured leaves in leaf springs
- Rust or corrosion at spring mounting points
- Loss of spring tension or compromised load support
Stay vigilant to maintain your vehicle’s suspension integrity.
Leaf Spring Alignment
When inspecting leaf springs, ensuring proper alignment is essential to maintain even weight distribution and prevent uneven tire wear. Begin by measuring vehicle height at each corner, comparing results to manufacturer specifications; uneven heights often signal misaligned or damaged leaf springs. Examine the leaf springs closely for cracks, rust, or wear that could compromise vehicle stability. Don’t overlook the bushings and mounting points—worn components cause abnormal noises and degrade ride quality. Also, inspect coil springs for sagging or deformation, since these affect handling and suspension performance. Accurate suspension inspections rely on your ability to detect these issues early, freeing you from unexpected failures and ensuring your vehicle’s suspension system operates safely and efficiently. Prioritize alignment to maintain control and achieve true driving liberation.
 How Much Are Suspension and Steering Checks?
Evaluating Control Arms and Bushings Condition

Start by inspecting the control arms for any signs of wear, rust, or bending that could affect suspension performance. Next, check the bushings carefully for cracks or deterioration that might cause noise or vibrations. Finally, assess joint play to identify any looseness that could lead to instability or uneven tire wear.
Inspecting Control Arm Wear
Although control arms are designed to endure significant stress, you must regularly inspect them and their bushings for wear to guarantee proper suspension performance. Neglecting this maintenance risks compromised handling and safety. When you inspect control arms, focus on these key points:
- Check for rust, corrosion, or physical damage on control arms.
- Look for cracks, tears, or excessive play in bushings indicating wear.
- Use a pry bar to test for unwanted movement in the control arms.
- Monitor vibrations or noise while driving as signs of bushing deterioration.
- Incorporate inspections every 12,000 miles or during suspension work.
Checking Bushing Cracks
Inspecting control arms naturally leads to evaluating their bushings for cracks or tears, as these components work together to maintain suspension integrity. Begin by visually examining the bushings, focusing on any visible cracks, splits, or signs of deterioration. These defects indicate wear that compromises the cushioning effect between control arms and the vehicle frame. When bushings develop cracks, they increase play in suspension components, reducing stability and causing poor handling. Neglecting this wear not only accelerates damage to adjacent parts but also risks misalignment and uneven tire wear. You should prioritize replacing cracked or severely worn bushings promptly to restore proper suspension function, guarantee vehicle safety, and avoid costly repairs. Regular, precise inspections empower you to maintain full control and freedom behind the wheel.
Assessing Joint Play
Evaluate joint play by carefully examining control arms and their bushings for any signs of wear, cracks, or looseness that could compromise suspension stability. Start with a thorough visual inspection of control arms—look for rust, cracks, or looseness. Use a pry bar to test joint play; slight movement is normal, but noticeable slop signals replacement. Focus on bushings, ensuring they’re intact without tears or hardening. Damaged bushings reduce ride quality and increase noise. Document your findings to monitor suspension system health and intervene early.
- Check control arms for rust and looseness
- Inspect bushings for cracks or deformation
- Pry joints gently to detect excess play
- Listen for unusual noises during movement
- Record all observations for maintenance tracking
Measuring Wheel Height and Vehicle Stance

When you measure wheel height, use a tape measure to determine the distance from the center of each wheel to the fender, ensuring all corners match closely. This precise measurement reveals the vehicle stance, which should be level without any corner sitting noticeably lower. Uniform wheel height confirms the suspension components function correctly, promoting safe handling and peak performance. Discrepancies in these measurements indicate potential issues such as worn springs, misalignment, or failing shocks and bushings. Regularly checking wheel height and vehicle stance—ideally every 12,000 miles or once a year—empowers you to detect problems early and maintain control over your vehicle’s ride quality. Don’t overlook these measurements; they’re critical for diagnosing suspension health and preserving your driving freedom. In some cases, uneven stance may signal the need for structural repairs similar to those required when jacking up floors in crawl spaces, highlighting the importance of thorough inspection.
Detecting Uneven Tire Wear Patterns
Three key tire wear patterns—cupping, bald spots, and edge wear—can quickly reveal suspension problems that need your attention. Uneven tire wear often signals misalignment or worn components causing suspension issues. To catch these early, inspect your suspension regularly and monitor the tire tread depth closely.
Focus on these points when detecting uneven tire wear patterns:
- Cupping: scalloped dips around tire surface
- Bald spots: smooth areas lacking tread on one side
- Edge wear: excessive tread loss on inner or outer edges
- Tire pressure: check for proper inflation affecting wear
- Document wear patterns to track suspension health
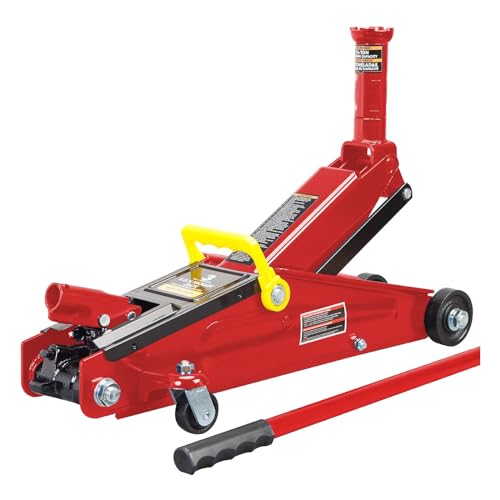
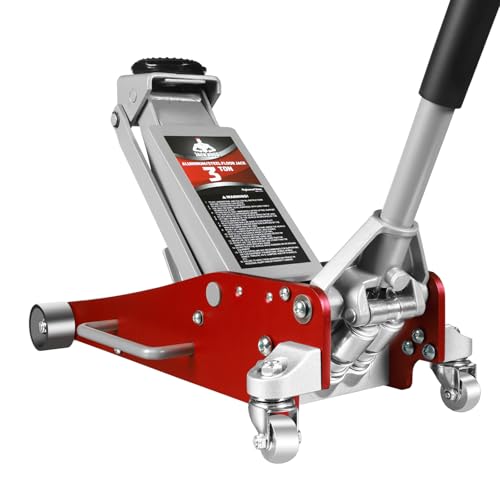
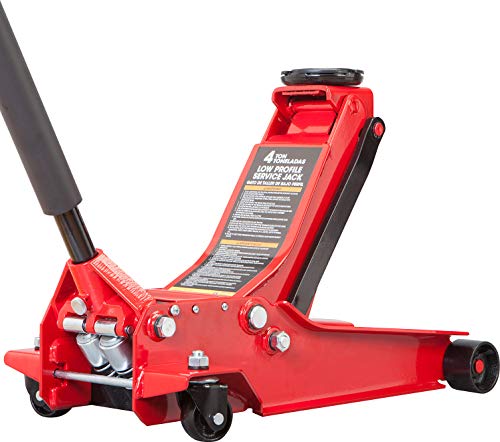
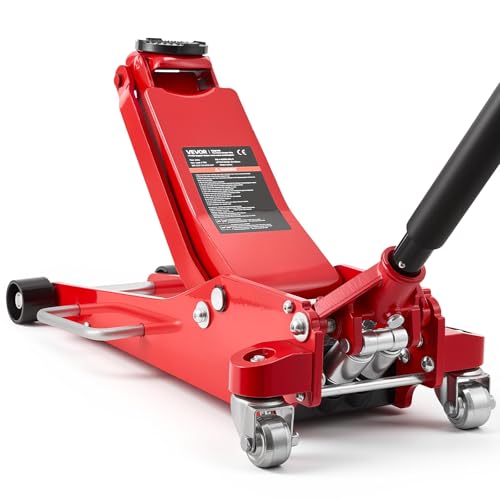
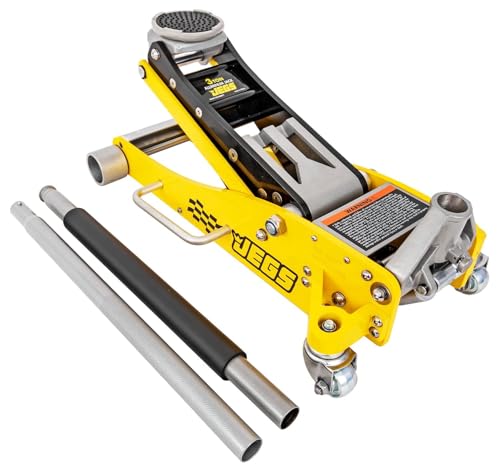
Proper vehicle lifting with a quality floor jack is essential during suspension checks to ensure safe and effective inspections.
Examining Tie Rod Ends and Steering Linkages
Although tie rod ends and steering linkages may seem like small components, they play an essential role in your vehicle’s steering accuracy and suspension function. You must inspect tie rod ends regularly by checking for excessive play; do this by moving the steering wheel back and forth while the vehicle is stationary. Visually examine steering linkages and tie rod ends for wear signs such as cracks, rust, or deteriorated rubber bushings. Uneven tire wear often points to misalignment caused by worn components. If you detect any damage or looseness in the tie rod ends or steering linkages, replace them immediately. Maintaining these components guarantees prime vehicle safety, precise steering control, and prevents further suspension issues that could compromise your freedom on the road.
Performing the Bounce Test on Each Vehicle Corner
To perform the bounce test, push down firmly on each corner of the vehicle and release, observing how quickly it rebounds. You should expect the vehicle to settle after one bounce; excessive or delayed bouncing indicates potential suspension issues. Listen carefully for unusual noises, as they can help you pinpoint worn or damaged components.
Bounce Test Procedure
When you push down firmly on each corner of the vehicle and release, observe how quickly it returns to its original position. This bounce test reveals the state of your shock absorber and overall suspension health. Perform the test on all four corners to guarantee a balanced, healthy suspension and catch any signs of damage.
 Signs It’s Time to Replace Steering Parts
Follow this precise procedure:
- Park on a firm, even surface for accurate results
- Apply firm downward pressure on one corner, then release
- Watch for quick rebound and immediate settling without excessive bouncing
- Listen carefully for unusual noises like clunking or squeaking
- Compare rebound behavior across all corners for inconsistencies
This method empowers you to identify suspension issues early and maintain vehicle liberation.
Interpreting Bounce Results
After performing the bounce test on each corner, you'll need to interpret the results by comparing how quickly each corner returns to its normal position. A healthy suspension system’s shock absorbers will absorb the force and allow the vehicle to settle quickly without excessive bouncing. If you notice slow rebound or repeated bouncing, it signals worn or failing shock absorbers that compromise ride control. Additionally, listen closely for unusual noises like clunks or squeaks during the test—these often indicate damaged suspension components. Conducting the bounce test systematically on all corners helps you identify inconsistencies that reveal underlying suspension problems. By accurately interpreting these results, you empower yourself to address suspension issues promptly, ensuring your vehicle’s stability and your freedom to drive safely.
Looking for Signs of Fluid Leakage Around Suspension Parts
Although fluid leakage around suspension parts may seem minor, it often signals seal failure in components like shocks and struts, which directly affects suspension performance. You must perform a thorough visual inspection of all suspension components to detect fluid leaks early. Focus on these key areas:
- Wetness or oil residue on shock absorbers
- Fluid buildup around bushings and mounting points
- Damp spots along strut bodies
- Accumulation of grime mixed with fluid
- Unusual staining on suspension arms or nearby surfaces
Spotting these signs during routine maintenance and repair helps prevent further damage, ensuring your suspension stays reliable and safe. Don’t ignore fluid leaks; prompt professional evaluation safeguards your vehicle’s handling and your freedom on the road.
Verifying Fastener Tightness and Component Security
Detecting fluid leaks around suspension components often indicates potential issues that can be worsened by loose fasteners. To guarantee fastener tightness and component security in your suspension system, use a torque wrench to tighten bolts and nuts to the manufacturer’s specified torque. During inspections, check for rust or corrosion on fasteners, as these degrade connection strength and risk detachment. Inspect rubber bushings and joints for cracks or wear; compromised bushings reduce component security and threaten suspension integrity. Document the condition and torque values of all fasteners at each inspection to monitor changes over time. Maintaining strict fastener tightness preserves your suspension system’s performance, enhances safety, and liberates you from unexpected failures on the road. For accurate fastener tightening, using a TEKTON Drive Torque Wrench ensures precise application of torque according to manufacturer specifications.
Frequently Asked Questions
What Is Included in a Suspension Inspection?
You’ll perform a suspension system inspection process by checking components thoroughly, ensuring they meet safety standards. Follow maintenance tips closely to detect issues early, keep your vehicle stable, and maintain your freedom on the road safely.
What Is Checked in a Suspension Check?
You’d never guess, but your suspension system’s health depends on checking shock absorbers, strut assembly, and alignment issues. Don’t let worn parts enslave your ride—inspect, diagnose, and liberate your vehicle’s performance today.
What Is All Included in Suspension?
Your suspension system includes shock absorbers, springs, struts, and control arms. Proper maintenance tips like regular inspections guarantee smooth vehicle handling and safety, freeing you from breakdowns and enhancing your driving liberation.
What Item Is a Key Suspension Part?
You’ll find shock absorbers function to control spring movement, coil spring types absorb shocks, suspension geometry guarantees proper alignment, and the strut assembly supports both structural and damping roles—each essential for suspension performance and your driving freedom.
Final Thoughts
By thoroughly checking these 10 key suspension items, you’ll guarantee your vehicle handles smoothly and stays safe on the road. Don’t cut corners—each component plays an essential role in performance and longevity. Regular inspections catch small issues before they snowball into costly repairs. Keep your suspension in top shape, and you’ll be driving on all cylinders, avoiding surprises that could throw a wrench in your plans. Stay diligent, stay safe.
 Top 3 Suspension and Steering Inspection Tips
Reliable Floor Jacks on a Budget: Best Picks for Under $150
Top-Rated Floor Jacks Over $100: Built for Professionals, Priced for Smart Buyers
If you want to know other articles similar to 10 Key Items Covered in Suspension Checks you can visit the Suspension Steering Care category.
Common Indicators Your Car Suspension Needs Attention

When to Schedule Your Suspension Inspection: 7 Tips

Why Regular Steering Checks Matter for Your Car

Top 3 Suspension and Steering Inspection Tips

Signs It’s Time to Replace Steering Parts

How Much Are Suspension and Steering Checks?

7 Signs Your Car Suspension Needs Attention

Find Local Suspension and Steering Inspection Services
Leave a Reply
This is also interesting