





![TOPIK H11/H9/H8 Bulbs [40,000LM Super Bright] 900% Brighter Than Halogen,](https://m.media-amazon.com/images/I/51pGOjHfOcL._SL500_.jpg "What Are the Steps to Replace Headlight Bulbs? 29")







What Are the Steps to Replace Headlight Bulbs?


To replace headlight bulbs, first gather the correct replacement bulb, tools, and safety gear.
Park on a level surface, turn off the vehicle, and open the hood to access the headlight assembly.
Remove clips or screws, then carefully disconnect wiring and release the old bulb.
Insert the new bulb without touching the glass, securing it properly.
Reattach the assembly and test the headlights for brightness and alignment.
Follow these precise steps to guarantee safe, effective replacement, and explore additional tips to perfect your repair.
Table
Main Points
- Gather tools, ensure the vehicle is off and headlights are cool, and consult the manual for bulb type and instructions.
- Open the hood, locate the headlight assembly, and remove any covers or clips securing it.
- Release the bulb clip, remove the old bulb by twisting or unclipping, and handle it by the base only.
- Insert the new bulb without touching the glass, align tabs, twist or clip it securely, and replace covers.
- Reattach the assembly, test the headlights for proper function, adjust aim if needed, and clean the work area.
Selecting the Right Replacement Bulb

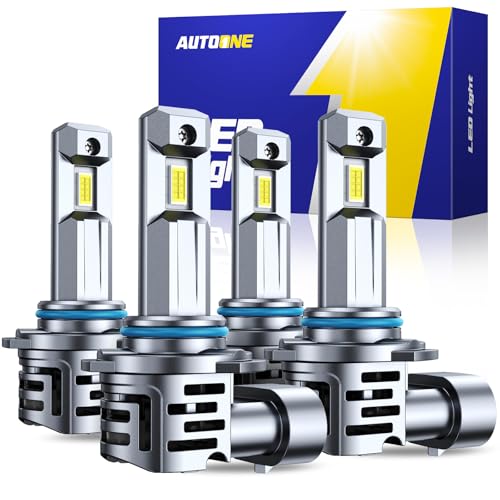
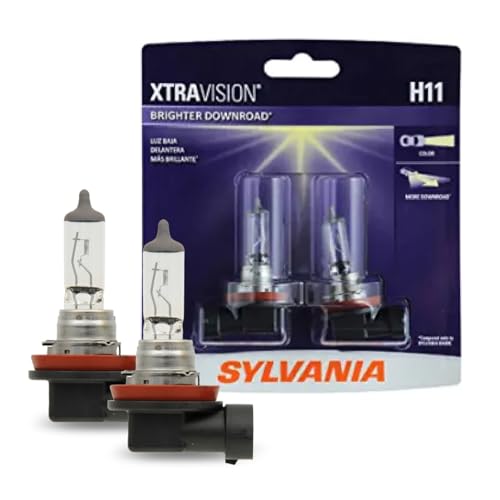
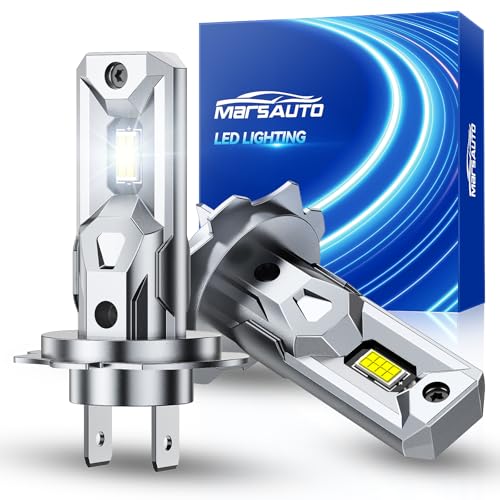
When selecting a replacement headlight bulb, you need to match the wattage and type specified in your vehicle’s owner manual to guarantee proper fit and performance. Check the color temperature too; bulbs around 5000K emit cooler white light, enhancing contrast and visibility compared to warmer tones. Choose high-quality headlight bulbs designed for durability, reducing replacements and providing consistent illumination. It’s best to replace both bulbs simultaneously to maintain balanced lighting on the road. If you’re using halogen bulbs, handle them carefully—wear gloves to avoid skin oils that cause premature failure. Following these precise steps guarantees your replacement headlight functions efficiently, giving you clear vision and freeing you from frequent maintenance interruptions.
Preparing Your Tools and Safety Gear

After selecting the correct replacement bulb, gather the necessary tools and safety gear to guarantee a smooth and secure installation. Secure a vehicle-specific headlight bulb to prevent compatibility issues. Equip yourself with a screwdriver and ratchet to reach confined areas housing the headlight bulb. Wear safety gloves to shield your hands from sharp edges and minimize wear and tear caused by handling. Don safety goggles to protect your eyes from debris during the process. Ascertain the vehicle is powered off completely, with keys removed, to eliminate electrocution risk. Preparing these tools and gear beforehand not only safeguards your well-being but also streamlines the replacement, empowering you to restore your headlights efficiently and safely.
 Fixing Car Interior Lights That Won't Turn On
Locating and Accessing the Headlight Assembly

Although locating the headlight assembly might seem straightforward, you need to open the vehicle's hood and identify the headlight housing at the front corners of the engine bay. To gain access, first confirm the vehicle is off and keys are removed to avoid accidental activation. Consult your vehicle’s repair guide to pinpoint whether the high beam and low beam bulbs occupy separate positions. Some models require removing screws or nearby components—like the battery or coolant reservoir—to reach the assembly. Alternatively, check for wheel well access, which can simplify entry without disassembly. Once you’ve located and gained access to the headlight assembly, you’re prepared to remove the old bulb safely. Mastering this step liberates you from unnecessary service visits and puts control firmly in your hands.
Removing the Old Bulb and Disconnecting Wiring

Begin removing the old bulb by gently pushing down on the clip with a flathead screwdriver to release it from the socket. Follow these precise steps to liberate your headlight from its worn component:
- Twist the bulb casing counter-clockwise, aligning the tabs to free it from the assembly.
- Carefully disconnect wiring by pulling the plug straight out from the bulb, avoiding damage to electrical connectors.
- Handle the removed bulb cautiously, as it may still be hot; wear safety gloves to protect the new bulb from oils that cause premature failure.
Installing the New Bulb Correctly

Start by aligning the tabs on the new bulb with the socket to guarantee a proper fit. Once aligned, twist the bulb clockwise about a quarter turn until you hear a click, confirming it’s securely locked in place. Be careful not to touch the glass to prevent damage and guarantee longevity.
Aligning Bulb Tabs
Three key steps guarantee you align the bulb tabs correctly when installing a new headlight bulb. Proper alignment secures a fit and enhances performance, liberating you from repeated replacements.
- Match Tabs to Grooves: Carefully position the bulb so its alignment tabs fit precisely into the corresponding grooves in the headlight socket. This prevents damage during installation.
- Insert Without Touching Glass: Gently insert the bulb, avoiding contact with the glass to prevent oils from your skin causing hot spots that shorten bulb life.
- Twist to Lock: Rotate the bulb clockwise about a quarter turn until you hear a click, confirming the bulb is properly aligned and seated.
Following these steps guarantees you replace your bulb correctly, maintaining both function and longevity.
Securing Bulb Installation
A secure installation is essential to guarantee your new headlight bulb functions reliably. First, align the tabs of the bulbs carefully with the socket to confirm a proper fit. Once aligned, twist the bulb clockwise about a quarter turn until you hear a click, confirming it’s securely installed. Avoid touching the glass surface of the bulbs during installation, as oils can cause premature failure. After securing the bulb, gently tug it to verify it’s locked in place. Finally, reassemble any components you removed to protect the bulb from moisture and extend its lifespan. Following these steps confirms your bulbs remain secure, delivering consistent illumination and freeing you from frequent replacements.
Testing and Securing the Headlight Components
Once you've installed the new bulbs, turn on the headlights and switch between high and low beams to verify proper function. Listen for a click to confirm the bulbs are securely seated in their sockets. Finally, reattach any covers or components you removed to complete the assembly.
Headlight Function Testing
Begin by activating your headlights and cycling through both high and low beams to verify the new bulbs function correctly. Perform a quick test to confirm each headlight illuminates without flickering or dimming, signaling secure connections. Follow these steps:
- Observe the brightness and stability of both beams for consistent light output.
- If a bulb fails to light, use a multimeter to check voltage at the headlight socket, confirming power delivery.
- Inspect the headlight housing and wiring for corrosion or damage that could impair function.
This precise testing guarantees your headlights operate reliably, freeing you from uncertainty and enhancing safety on the road.
 Why Are My Dashboard Lights Not Working?
Securing Bulb Installation
Two critical steps confirm your headlight bulb stays secure and functions properly after installation. First, verify you're securing bulb installation by twisting the bulb clockwise about a quarter turn until it clicks firmly into the socket. This quarter turn locks the bulb in place, preventing movement or electrical issues. After replacing the bulb, test its functionality by activating the headlights and cycling through both high and low beams. If the bulb fails to illuminate, double-check connections and verify bulb compatibility with your vehicle’s electrical system. Always handle bulbs with gloves to avoid oils that reduce lifespan. These precise actions during securing bulb installation confirm your headlight operates reliably, granting you clear visibility and freedom on the road.
Reassembling Headlight Components
After installing the new bulbs, carefully reattach all headlight components and covers removed during the replacement. To guarantee your headlights function flawlessly and remain secure, follow these steps:
- Reassemble the headlight assembly, making sure every clip and latch is securely fastened to prevent rattling or disconnection.
- Verify all electrical connections are firmly in place; loose connections can cause malfunction or intermittent lighting.
- Test the headlights by switching between high and low beams to confirm proper operation; adjust the beam if necessary for peak visibility and safety.
Finally, inspect the area for any leftover tools or parts. By securely reassembling and testing your headlights, you reclaim control over your vehicle’s safety and performance with precision.
Frequently Asked Questions
How to Replace a Headlight Bulb?
To replace headlight bulbs, identify your headlight types and consider bulb lifespan. Follow precise installation tips: wear gloves, avoid touching bulbs, align tabs correctly, and test functionality. This guarantees safe, efficient replacement and superior lighting performance.
What Are the Steps to Change a Light Bulb?
Like swapping a vinyl record, changing light bulb types requires care. You’ll master headlight maintenance by disconnecting power, removing the old bulb, fitting the new one securely, and testing—empowering your DIY repairs for freedom on the road.
Will Autozone Replace My Headlight Bulb?
You can use AutoZone services for headlight bulb replacement; they offer free installation with bulb purchase. Check bulb replacement costs locally, as availability varies. Their trained staff guarantees correct, precise headlight bulb fitting.
Is It Easy to Replace Your Own Headlight Bulb?
You’ll find DIY headlight replacement straightforward if you follow headlight maintenance tips carefully. Address common bulb issues by wearing gloves, disconnecting power, and handling bulbs cautiously. This precise approach empowers your vehicle's lighting independence.
Final Thoughts
Replacing your headlight bulb might seem tricky, but with the right steps, it’s as clear as daylight. By selecting the correct bulb, preparing your tools, carefully removing the old bulb, and installing the new one precisely, you guarantee safety and visibility on the road. Remember, a small spark of effort now keeps darkness at bay later—so test thoroughly and secure everything tightly. Your journey deserves nothing less than perfect light.
 5 Best LED Headlights for Older Cars
Reliable Floor Jacks on a Budget: Best Picks for Under $150
Top-Rated Floor Jacks Over $100: Built for Professionals, Priced for Smart Buyers
If you want to know other articles similar to What Are the Steps to Replace Headlight Bulbs? you can visit the Lighting Electrical Care category.
Fixing Car Interior Lights That Won't Turn On

Why Is My Car Experiencing Electrical Issues?

7 Best Signs Your Car Alternator Is Failing

What Causes Issues in Your Car Fuse Box?

How to Upgrade Car Lighting for Safer Driving

Car Wiring Harness Repair Costs: Top 10 Factors

How to Identify Car Battery Drain Sources

5 Best LED Headlights for Older Cars
Leave a Reply
This is also interesting