











How to Flush Your Car’s Radiator Efficiently


To flush your car’s radiator efficiently, first verify the engine is cool and safely parked.
Drain the old coolant by opening the radiator cap and drain plug, catching fluid in a pan.
Use a flush solution and distilled water to rinse the system until clear, then refill with the correct 50/50 antifreeze mix per your owner’s manual.
Protect yourself with gloves and dispose of waste responsibly.
Following precise steps will improve cooling performance and extend engine life; detailed guidance can further enhance your maintenance skills.
Table
- Main Points
- Importance of Regular Radiator Flushing
- Essential Tools and Materials for the Job
- Preparing Your Vehicle Safely for a Radiator Flush
- Step-by-Step Radiator Draining Process
- Flushing the Cooling System Thoroughly
- Refilling the Radiator With Fresh Coolant
- Proper Disposal and Cleanup After Flushing
- Frequently Asked Questions
- Final Thoughts
Main Points
- Ensure the engine is completely cool before starting to safely drain the old coolant from the radiator.
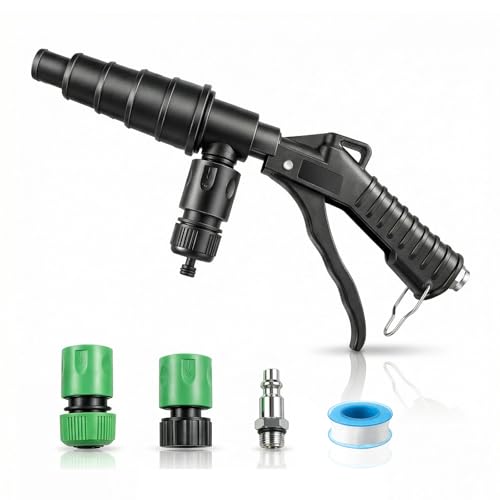
- Use a DIY flush kit and distilled water to thoroughly clean and flush out contaminants from the cooling system.
- Close the drain plug securely, then refill the radiator with a 50/50 mix of fresh antifreeze and distilled water.
- Run the engine with the heater on max and radiator cap off to circulate coolant and remove air pockets.
- Collect and dispose of old coolant properly at a certified recycling center to protect the environment.
Importance of Regular Radiator Flushing

Regular radiator flushing plays a critical role in maintaining your vehicle's cooling system and preventing engine overheating. When you perform a radiator flush, you remove degraded coolant that contains sediment and contaminants, guaranteeing smooth coolant circulation. This process restores the effectiveness of corrosion inhibitors, protecting metal components from rust and corrosion within the system. Maintaining clean coolant flow directly enhances engine life by preventing overheating and reducing wear caused by heat stress. You should schedule a radiator flush every five years or 100,000 miles to avoid buildup that compromises your vehicle's cooling system. Ignoring this maintenance risks sludge accumulation, which obstructs coolant pathways and reduces heat dissipation, leading to costly engine damage. Regular flushing liberates you from unexpected failures and guarantees efficient vehicle performance.
Essential Tools and Materials for the Job

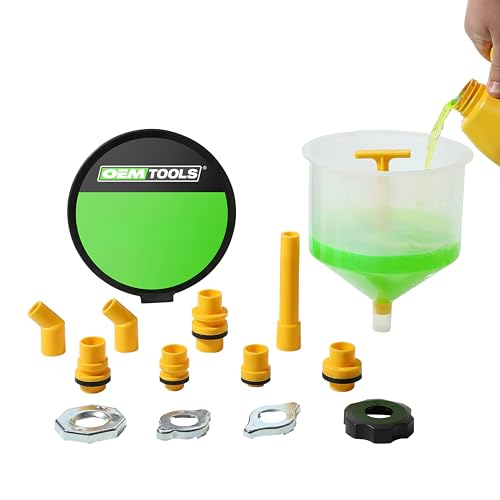
Before you begin flushing your car's radiator, gather all necessary tools and materials to guarantee an efficient and safe process. You’ll need a DIY flush kit to thoroughly clean the cooling system, available at auto parts stores. Prepare a funnel to pour liquids precisely, a large drain pan to catch old coolant, and a wrench or screwdriver set for loosening clamps and hoses. Use a radiator flush product to dissolve debris and corrosion, then distilled water to fill and rinse the system. Finally, have fresh coolant ready to replace what you drain. Always wear safety goggles and gloves to protect yourself from chemical exposure. Proper disposal of used coolant and flush fluid is essential to avoid environmental harm. This preparation assures a smooth, effective radiator flush.
Preparing Your Vehicle Safely for a Radiator Flush

Start by parking your vehicle on a flat, dry surface and securing it with wheel chocks to prevent any movement during the flush. Give the engine at least an hour to cool down before you begin working to avoid burns. Prioritize your safety by wearing safety goggles and protective gloves to shield against coolant spills and hot parts. Before flushing, inspect the radiator and hoses for leaks or damage to guarantee the process is effective and safe.
 Top 10 Reasons Behind Coolant System Corrosion
- Always wear safety goggles to protect your eyes.
- Wear protective gloves to prevent chemical and heat injuries.
- Inspect the radiator meticulously for visible damage.
- Clean any coolant spills immediately to avoid environmental hazards.
These steps secure your workspace and safeguard your well-being, empowering you to proceed confidently.
Step-by-Step Radiator Draining Process

Before you start draining, make certain the engine is completely cool and the vehicle is on a flat surface. Place a drain pan under the radiator’s drain plug, then carefully open the radiator cap to release pressure before loosening the plug. Once drained, inspect the radiator and hoses for leaks or damage to guarantee the system’s integrity.
Preparing for Drainage
Typically, you'll want to guarantee the engine is completely cool before you begin draining the radiator to prevent burns from hot coolant or engine parts. Preparing for drainage sets the stage for a safe, effective flush. Follow these steps:
- Position a drain pan beneath the radiator drain valve to collect old coolant.
- Carefully open the radiator drain valve or remove the drain plug to allow coolant to flow out fully.
- While draining, inspect the radiator and hoses for leaks or damage to identify issues early.
- After the coolant drains, securely close the radiator drain valve or replace the plug to prevent leaks.
Draining Coolant Safely
A critical step in draining your car’s radiator safely involves ensuring the engine is fully cool to avoid burns. Start by carefully removing the radiator cap to relieve any residual pressure. Position a drain pan beneath the radiator drain valve or the lower radiator hose connection. Open the drain valve or loosen the hose to begin draining coolant completely. This prevents spills and allows you to collect the old engine coolant efficiently. As you drain, inspect fittings for leaks or looseness. Once emptied, properly dispose of the used coolant following local environmental regulations—many auto parts stores accept it for recycling. By mastering this process, you maintain control and prepare effectively to flush your radiator, ensuring your vehicle’s cooling system operates at peak performance without risk or mess.
Post-Drain Inspection
Three key areas demand your attention once you've drained the coolant: the radiator, hoses, and the old coolant itself. Carefully inspect these components to verify your draining and replacing process goes smoothly. Focus on:
- Examining the radiator for any leaks or damage that could impair the cooling system’s efficiency.
- Checking all hoses for cracks, bulges, or signs of wear that might cause future leaks.
- Evaluating the old coolant’s color and consistency; rust or sludge indicates corrosion or contamination.
- Confirming the drain valve and hose connections are secure and intact before proceeding.
This inspection is critical to flush your car’s radiator efficiently and maintain peak cooling system performance. Addressing issues now liberates you from costly repairs later.
Flushing the Cooling System Thoroughly

Before you begin flushing, make sure the engine is completely cool and inspect the radiator and hoses for leaks. Follow a precise sequence: drain old coolant, circulate a flush solution, then flush with clean water until clear. Afterward, perform a thorough inspection to confirm all debris is removed and refill with fresh antifreeze per specifications.
Preparing for Flush
Once the engine has fully cooled and the vehicle is securely parked on a flat surface, you can begin preparing for the radiator flush. Start by assembling all necessary tools: a flush kit, drain pan, funnel, radiant flush product, and safety gear. Next, inspect the radiator and hoses for leaks or damage to verify the vehicle’s cooling system is ready. Locate the drain plug at the radiator’s base and position the drain pan beneath it to catch old coolant. Finally, plan to use distilled water for flushing and refill afterward with the correct antifreeze and distilled water mixture, adhering strictly to manufacturer guidelines. Your precise preparation guarantees a thorough, efficient flush and long-term system health.
- Gather flush kit, funnel, gloves, goggles
- Inspect radiator and hoses for damage
- Locate and prepare drain plug area
- Plan coolant disposal and refill mixture
Flushing Procedure Steps
To begin the flushing procedure, make sure the engine is completely cool, then open the hood and inspect the radiator and hoses for leaks or damage. Locate the radiator drain plug at the bottom and carefully open it to drain the old coolant into a container for proper disposal. Next, refill the coolant system with distilled water mixed with a radiator flush product. Run the engine for about 10 minutes with the heater on maximum to circulate the solution thoroughly. Afterward, drain the flushing solution completely and loosen the lower radiator hose to remove any sediment. Continue flushing with distilled water until it runs clear. Finally, close the drain plug securely and refill the system with the recommended ratio of new antifreeze and distilled water, adhering strictly to the manufacturer’s coolant capacity.
 Why Does My Car Overheat After Coolant Flush?
Post-Flush Inspection
Although the flushing process removes most contaminants, you should thoroughly inspect the cooling system immediately after refilling it with new coolant. This post-flush inspection guarantees your coolant flush was effective and prevents future overheating. Follow these steps to liberate your car’s performance:
- Inspect coolant level carefully and top off to the capacity specified in the owner’s manual.
- Examine all hoses and fittings for leaks; no dripping should occur after the flush.
- Run the engine with the heater on maximum to purge trapped air pockets.
- Monitor the temperature gauge during your first drive; normal operation ranges between 180°F to 220°F.
Refilling the Radiator With Fresh Coolant
Before you start refilling the radiator, check your vehicle's owner's manual to confirm the correct coolant capacity and mix ratio. Use a precise blend of antifreeze and distilled water—typically 50/50—to protect the cooling system from mineral buildup and corrosion. Slowly pour the coolant mixture into the radiator or reservoir, allowing trapped air to escape and preventing overfilling. Once filled, run the engine with the radiator cap off for several minutes to circulate the fresh coolant and inspect for leaks. Monitor the coolant level closely over the following days, topping off as needed to maintain the recommended range. If uncertain, consult a professional mechanic to verify the cooling system functions effectively, securing your vehicle’s performance and your freedom on the road.
Proper Disposal and Cleanup After Flushing
You should collect all the old coolant in a drain pan immediately after flushing your radiator to prevent spills and contamination. For proper disposal, follow these critical steps:
- Wear protective gloves and safety goggles to avoid skin contact and eye irritation.
- Transfer the coolant to a sealed container designed for hazardous waste storage.
- Take the sealed container to a certified recycling center or auto parts store that accepts automotive fluids.
- Clean spills promptly using absorbent materials, ensuring no coolant residue remains to protect pets and children.
Always adhere to local regulations concerning hazardous waste disposal. Avoid pouring coolant down drains or on the ground, as it poses severe environmental risks. By responsibly managing coolant disposal and cleaning spills, you liberate yourself from environmental harm and comply with safety standards.
Frequently Asked Questions
What Is the Best Way to Flush a Car Radiator?
You should follow radiator maintenance tips by draining old coolant, using DIY flushing techniques with a flush product, running the engine, then refilling. Regular coolant replacement frequency prevents common radiator problems, ensuring benefits of flushing like improved cooling.
How Many Gallons of Water Does It Take to Flush a Radiator?
Radiator maintenance requires roughly 2 to 4 gallons of distilled water for effective flushing. Balance coolant types, heed flushing frequency recommendations, avoid common flushing mistakes, and follow radiator care essentials to keep your system running reliably and liberate your ride.
How Do You Flush Sludge Out of a Radiator?
You drain old coolant, add a flush solution with distilled water, run the engine, then drain again. Follow radiator maintenance tips, understand coolant types, and apply flushing frequency recommendations for effective sludge prevention and DIY radiator cleaning.
Does a Radiator Flush Make Your Car Run Better?
You’ll release beastly power by following radiator maintenance tips! Compare coolant types, heed flushing frequency recommendations, and monitor radiator performance indicators to prevent engine overheating causes. A proper flush elevates your car’s efficiency and longevity.
Final Thoughts
By routinely giving your radiator a thorough rinse, you help your engine breathe easier and work smoother. With the right tools and careful steps, flushing the cooling system becomes a straightforward ritual that clears away hidden residues and old coolant. Treat this maintenance like a rejuvenating cleanse for your vehicle’s heart, ensuring peak performance and longevity. Remember to dispose of used fluids responsibly, leaving your workspace as pristine as your freshly flushed radiator.
 How to Identify a Failing Car Radiator
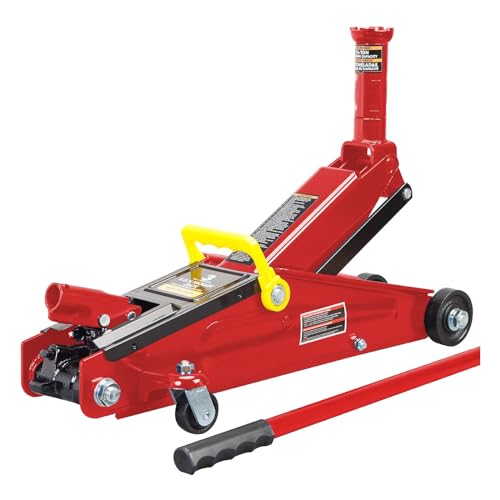
Reliable Floor Jacks on a Budget: Best Picks for Under $150
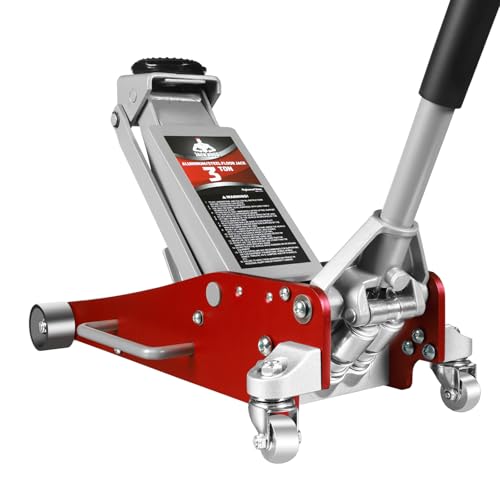
Top-Rated Floor Jacks Over $100: Built for Professionals, Priced for Smart Buyers
If you want to know other articles similar to How to Flush Your Car’s Radiator Efficiently you can visit the Coolant System Care category.
Top 10 Reasons Behind Coolant System Corrosion

What Coolant Works Best for Older Car Engines?

Why Routine Fluid Changes Matter for Your Engine

How to Tell Your Coolant System Needs Attention

Coolant System Leak Repair Costs and Guide

Why Should You Regularly Flush Your Coolant System?

Essential Maintenance Intervals for Your Car’s Cooling System

How to Identify a Failing Car Radiator
Leave a Reply
This is also interesting