









Step-by-Step Guide to DIY Engine Oil Change


Start by selecting the correct oil type and filter based on your owner's manual.
Park on a level surface, gather tools, and safely lift the vehicle using jack stands.
Place an oil pan beneath the drain plug, remove it to drain old oil, then replace and tighten the plug.
Remove the old oil filter, lubricate and install a new one.
Add new oil via the fill cap, check levels, and inspect for leaks.
Follow these precise steps, and you'll be ready to optimize your vehicle’s engine care.
Table
Main Points
- Consult the owner's manual for the correct oil type, viscosity, and oil filter specifications before starting your oil change.
- Park on a level surface, engage the parking brake, and safely lift the vehicle using a quality jack and secure jack stands.
- Drain old oil by removing the drain plug carefully, then remove and replace the oil filter with a lightly oiled gasket.
- Add the specified amount and type of new oil using a funnel, then check the oil level with a dipstick to ensure accuracy.
- Start the engine briefly to check for leaks, then properly dispose of used oil and filter at a recycling center.
Selecting the Right Oil and Filter

Selecting the right oil and filter starts with consulting your owner's manual to identify the specified oil type and viscosity, such as 0W-20 or 5W-30, guaranteeing excellent engine performance. Verify oil requirements via the Vehicle Emission Control Information sticker or use a VIN decoder if the manual is unavailable. Choose a high-quality synthetic oil, preferably full-synthetic, that meets or exceeds industry standards for engine protection and cleanliness. When selecting the oil filter, confirm it matches your engine’s filter specifications. For vehicles exceeding 75,000 miles, opt for high mileage filters designed to address wear and deposits. Adhering to the correct viscosity and using appropriate high-quality synthetic oil and compatible oil filters guarantees your engine’s longevity and peak function during your oil change.
Preparing Your Vehicle and Workspace

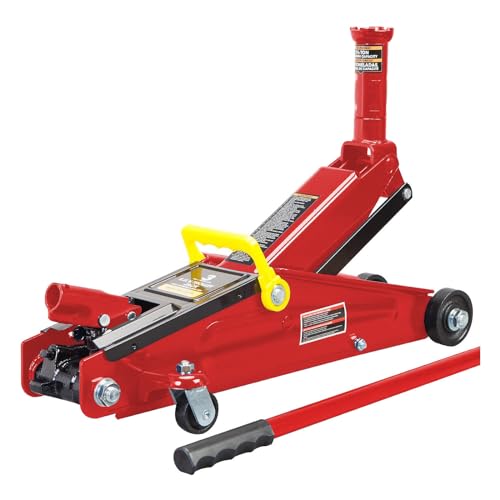
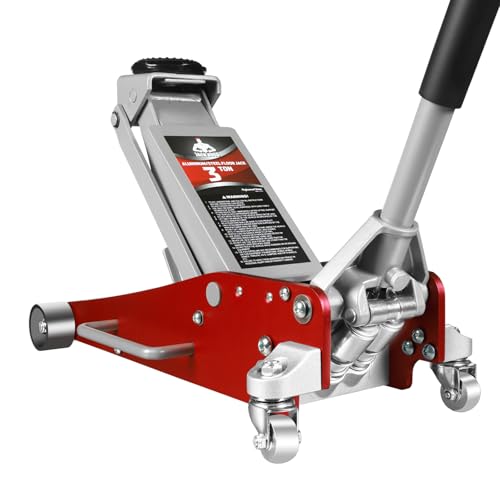
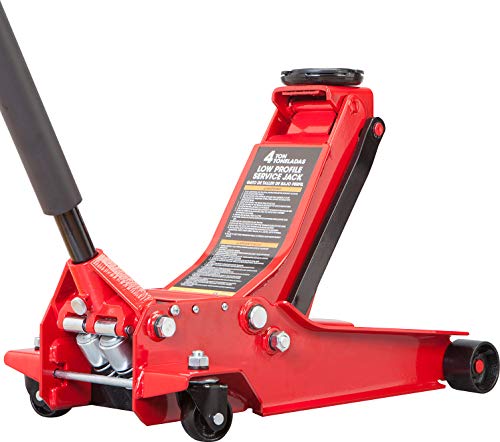
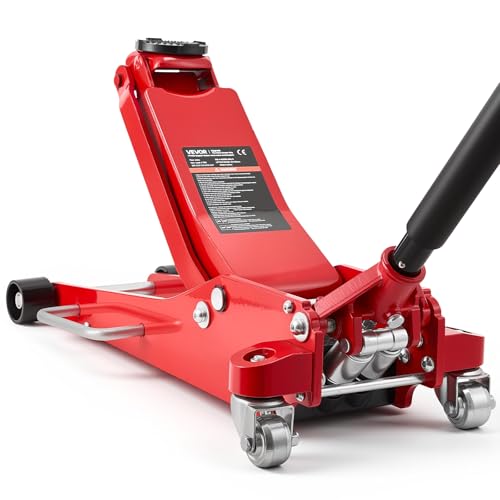
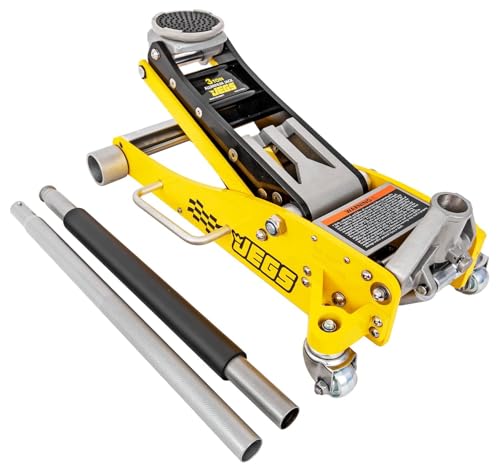
With the correct oil and filter chosen, you’re ready to prepare your vehicle and workspace for the oil change. Start by parking your vehicle on a level surface and engaging the parking brake to prevent movement. Next, consult the owner's manual to confirm oil type, viscosity, and change intervals. Then, gather all necessary tools—ratchet, socket set, funnel, oil capture container—and wear safety glasses to protect your eyes. Finally, make certain your workspace is clean, well-organized, and ventilated, especially if indoors. Avoid clutter that risks spills or accidents. Using a quality floor jack can further increase safety and efficiency when accessing your vehicle for an oil change.
 What Is the Recommended Oil Change Interval?
Lifting the Vehicle Safely

Before lifting your vehicle, park on a level surface and engage the parking brake to prevent any movement. Use a reliable car jack to raise the vehicle, then immediately secure it with jack stands or ramps for stable support. Always double-check that the vehicle is stable and use wheel chocks when necessary to guarantee safety throughout the process. For added security and optimal support, consider using a wide pyramid foot base jack stand design, which enhances stability and reduces the risk of tipping during your DIY oil change.
Choosing Lifting Equipment
Three essential pieces of lifting equipment you'll need are a car jack, jack stands or ramps, and wheel chocks. These guarantee the vehicle is securely elevated, allowing you to work under a vehicle safely.
- Use a reliable jack and jack stands together; never rely on the jack alone to hold the car off the ground.
- Ramps for elevation must align properly with tires; use wooden blocks behind rear wheels to prevent the vehicle from rolling backward.
- Confirm the vehicle has cooled down; hot components can cause burns during oil changes.
- Avoid serious accidents by never working under a vehicle supported solely by a floor jack.
Properly distributing weight evenly across lifting points—similar to jacking up a floor—ensures stability and prevents accidental shifts or damage.
Choosing the right lifting equipment is critical for your liberation from unsafe practices and guarantees your vehicle is securely elevated.
Securing Vehicle Stability
Since vehicle stability is essential during maintenance, you must park on a level surface and engage the parking brake to prevent any movement. Use a car jack to lift the vehicle, then immediately position jack stands or ramps to secure vehicle stability. Never rely solely on the jack when working under a vehicle. If you use ramps, place wooden blocks behind rear wheels to prevent movement and increase stability and security. Before getting under the vehicle, wear safety glasses and gloves for protection. Verify the vehicle is stable and secure before beginning maintenance. For added safety and reliability, consider using a built-in safety valve when choosing your floor jack to protect against accidental overload.
| Step | Action | Purpose |
|---|---|---|
| 1 | Park on level surface | Guarantee vehicle stability |
| 2 | Engage parking brake | Prevent movement |
| 3 | Use jack stands or ramps | Secure vehicle |
| 4 | Wear safety glasses and gloves | Protect during maintenance |
Safety Precautions During Lift
After securing your vehicle with the parking brake and jack stands or ramps, focus on lifting it safely. Prioritize safety to liberate yourself from potential hazards during maintenance. Follow these steps:
- Verify the vehicle rests on a flat, level surface to maintain stability during the lift.
- Engage the parking brake firmly to prevent any unintended movement.
- Position wheel chocks behind the rear wheels to secure the vehicle against rolling.
- Always use jack stands to support the vehicle after lifting; never rely solely on a jack. If using ramps, have a second person assist to guide the vehicle and confirm proper alignment.
Draining the Old Engine Oil

Before you start draining the old engine oil, position an oil catch pan directly beneath the oil pan's drain plug to catch all the used oil. Use a socket wrench to loosen the drain plug counterclockwise, holding it firmly to prevent spills. Let the old oil drain completely—this takes about five minutes or until the flow slows. Once drained, inspect the drain plug area for oil leaks and damage. Wipe the threads clean before reinserting and tighten the drain plug securely. Remember: dispose of old oil responsibly at recycling centers to protect the environment. Regular, precise oil changes free you from engine wear and costly repairs. For best results and to avoid mess, choose a pan with spill prevention features such as anti-splash lips and raised edges.
Removing and Replacing the Oil Filter

First, locate the oil filter, usually a cylindrical part attached to the engine, consulting your owner's manual if necessary. Position a catch pan beneath it to collect any residual oil during removal. When installing the new filter, apply a light coat of clean oil to its rubber gasket to guarantee a proper seal and smooth fit.
Locating Oil Filter
Where exactly is the oil filter located on your vehicle? Typically, it’s a cylindrical component near the engine block, but you’ll want to locate the oil filter by consulting your owner’s manual or inspecting beneath the hood. To efficiently remove the old oil filter, follow these steps:
 How to Spot Signs You Need an Oil Change
- Position an oil catch pan beneath the filter to catch any residual oil remaining inside.
- Use an oil-filter wrench to turn the filter counterclockwise; if stuck, try a rubber strap wrench for extra grip.
- After removal, check for the old oil-filter gasket stuck to the engine to prevent leaks.
- When installing the new oil filter, apply a light coat of oil to the gasket for a proper seal and tighten it by hand until snug.
This precision guarantees a clean, leak-free oil change process.
Installing New Filter
Begin by carefully removing the old oil filter, using an oil filter wrench if it’s too tight to turn by hand. Position an oil catch pan beneath to capture any residual oil. Once removed, inspect the engine mounting plate and remove the old gasket if it remains stuck, making sure no debris compromises the seal. Before installing the new oil filter, apply a light coat of fresh oil to its rubber gasket; this step guarantees a proper seal and eases future removal. Screw the new filter onto the engine mounting plate by hand until snug, typically three-quarters to one full turn. Always adhere to the torque recommendations provided to avoid overtightening. Properly installing the oil filter liberates you from leaks and promotes ideal engine protection.
Adding New Oil and Checking Levels
Once you've replaced the oil filter and securely tightened the drain plug, remove the oil fill cap and use a funnel to add the exact volume of new oil specified by the manufacturer, ensuring you select the correct viscosity as outlined in your owner's manual. Follow these steps precisely:
- Add new oil slowly, then wait a few minutes for it to settle.
- Use the dipstick to check the oil level, ensuring it reaches the proper mark.
- If below the mark, add more oil in small increments, checking frequently.
- Start the engine and let it idle for 10 seconds, then turn it off and check for leaks around the oil filter and drain plug.
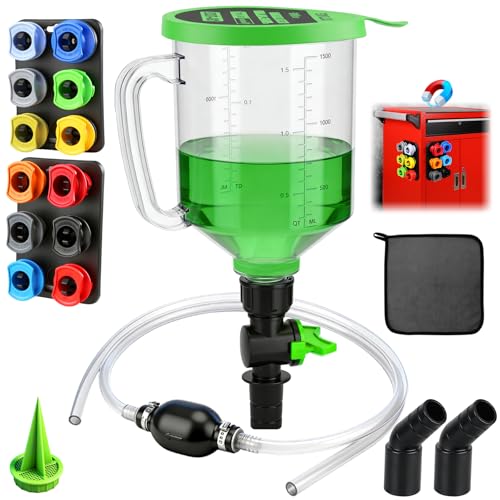
Using a 20 gallon oil drain pan with pump can make the process of collecting and transferring old oil much cleaner and easier. Remember to dispose of the old oil and filter properly at designated locations.
Frequently Asked Questions
How to Change Engine Oil Step by Step?
You’ll use tools needed to safely remove the drain plug and oil filter, follow your maintenance schedule with correct oil types, avoid common mistakes, guarantee engine performance, and handle oil disposal properly to maximize cost savings and safety precautions.
How Do I Change My Engine Oil Myself?
Imagine boosting your engine performance by changing engine oil yourself. Gather tools required, choose correct oil types, replace the oil filter, follow safety precautions, avoid common mistakes, dispose of old oil responsibly, and adhere to frequency recommendations for best maintenance.
Can I Do an Oil Change by Myself?
You can do an oil change yourself by following your maintenance schedule, using essential tools and correct oil types, observing safety precautions, avoiding common mistakes, understanding oil change benefits, managing environmental impact, and applying troubleshooting tips for cost savings.
Is It Legal to Do Your Own Oil Change?
You can legally perform DIY oil changes, but must follow state regulations, environmental rules, and safety requirements. Understand warranty considerations and personal liability to protect vehicle service rights, comply with home maintenance laws, and avoid insurance implications.
Final Thoughts
Changing your engine oil is like giving your car a fresh start—just as a well-tuned watch runs smoothly, clean oil keeps your engine precise and efficient. Remember, skipping this simple maintenance can reduce engine life by up to 40%. By following these steps carefully, you’re not only saving money but also ensuring your vehicle runs reliably. Keep your workspace organized, double-check oil levels, and your engine will thank you with years of smooth performance.
 Why Choose Special Oil for High Mileage Cars?
Reliable Floor Jacks on a Budget: Best Picks for Under $150
Top-Rated Floor Jacks Over $100: Built for Professionals, Priced for Smart Buyers
If you want to know other articles similar to Step-by-Step Guide to DIY Engine Oil Change you can visit the Engine Oil Maintenance category.
What Sets Synthetic Vs Conventional Engine Oil Apart?

10 Best Engine Oils for Luxury Vehicle Maintenance

10 Consequences of Skipping Engine Oil Changes

Why Choose Special Oil for High Mileage Cars?

How to Spot Signs You Need an Oil Change

What Is the Recommended Oil Change Interval?

How to Find Engine Oil Recycling Locations

Why Should You Change Engine Oil Regularly?
Leave a Reply
This is also interesting