


Step-by-Step Guide: How to Jack Up a Floor Joist Like a Pro

Is your floor creaking or feeling less stable than it used to? One possible cause could be a sagging or damaged floor joist. Jacking up a floor joist can help restore the stability and levelness of your floor. In this article, we'll guide you through the process of safely and effectively jacking up a floor joist.
Table
Assessing the Situation
Before you start jacking up a floor joist, it's important to assess the situation thoroughly. Check for any visible signs of damage or sagging in the floor. Use a level to determine the extent of the unevenness. Identify the specific joist that needs attention and inspect it for any cracks, splits, or other structural issues.
Gathering the Necessary Tools

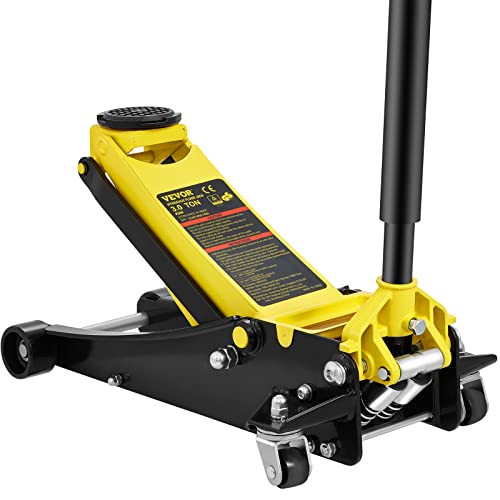
Once you've assessed the situation, gather the necessary tools for the job. You'll need a hydraulic jack, shims, a level, protective gear such as gloves and goggles, and possibly additional support brackets or beams depending on the severity of the issue.
 Ultimate Guide: How to Jack Up Floor from Crawl Space Like a Pro!
Preparing the Work Area
Clear the area around the joist that needs to be jacked up. Remove any obstacles or debris that could get in the way of the process. Ensure that the area is well-lit and safe to work in.
Jacking Up the Floor Joist
With the preparation complete, carefully position the hydraulic jack under the damaged joist, ensuring it is centered and stable. Slowly raise the jack to provide support to the joist, and use the level to monitor the progress. Once the joist is adequately supported and level, insert shims as needed to maintain the position.
Stabilizing and Reinforcing
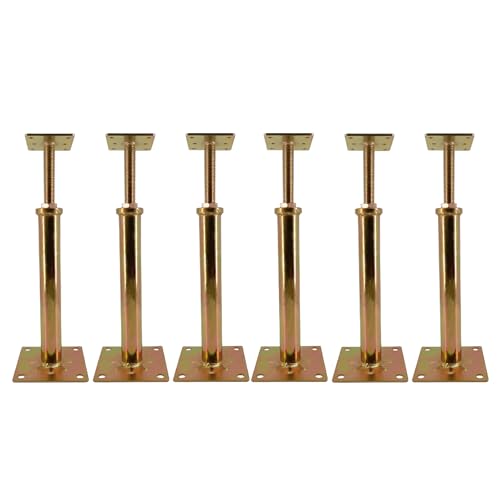
After jacking up the joist, it's important to stabilize and reinforce the area to prevent future issues. Consider installing support brackets or additional beams for added strength and stability. Double-check the levelness of the floor and make any final adjustments as necessary.
 Get the Best Snap On Floor Jack for Your Garage
Conclusion
Jacking up a floor joist is a task that requires attention to detail and a focus on safety. By assessing the situation, gathering the necessary tools, and following a methodical approach, you can effectively restore the stability and levelness of your floor. However, if you are unsure about tackling this project, it's always best to consult with a professional to ensure the job is done correctly.
 Get the Best Walmart Floor Jacks for Your Automotive Needs
Reliable Floor Jacks on a Budget: Best Picks for Under $150
Top-Rated Floor Jacks Over $100: Built for Professionals, Priced for Smart Buyers
If you want to know other articles similar to Step-by-Step Guide: How to Jack Up a Floor Joist Like a Pro you can visit the Floor Jacks Brands category.
Ultimate Guide: How to Jack Up Floor from Crawl Space Like a Pro!

Top Foundation Floor Jacks of 2023: Ultimate Support & Stability Guide

Ultimate Guide to Floor Stabilizer Jacks: Top Picks for Secure Leveling

Find the Best Concrete Floor Jacks for Your Home or Business

How to Install Permanent Basement Floor Jacks for a Strong Foundation

Find Out What Size Floor Jack You Need for a Ford F-150

The Best Toy Floor Jack for Your Home Workshop

Buy a High Quality Sears Hydraulic Floor Jack for Your Automotive Needs
Leave a Reply
This is also interesting