











Engine Bay Cleaning: Step-by-Step DIY Guide


To clean your engine bay effectively, start with a cool engine and disconnect the battery’s negative terminal.
Cover sensitive parts like the air intake with plastic bags.
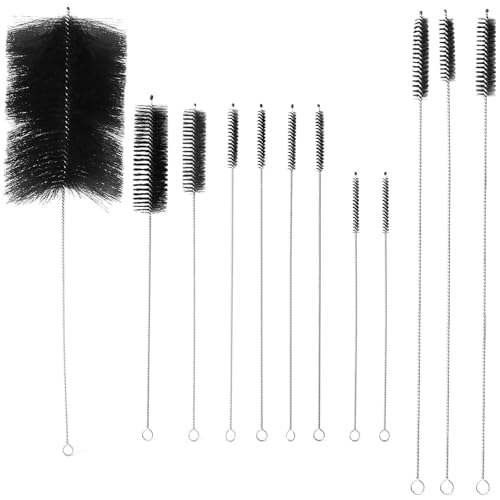
Remove loose debris using a vacuum or air compressor, then apply degreaser and scrub stubborn grime with a soft brush.
Rinse carefully with low-pressure water and dry thoroughly with microfiber towels.
Finish by applying plastic and rubber protectants, then inspect for leaks or damaged components.
Following these steps guarantees thorough cleaning and maintenance benefits.
Table
- Main Points
- Importance of Cleaning Your Engine Bay
- Essential Tools and Supplies for Engine Bay Cleaning
- Preparing Your Vehicle for Engine Bay Cleaning
- Protecting Sensitive Components Before Cleaning
- Removing Loose Debris and Dirt
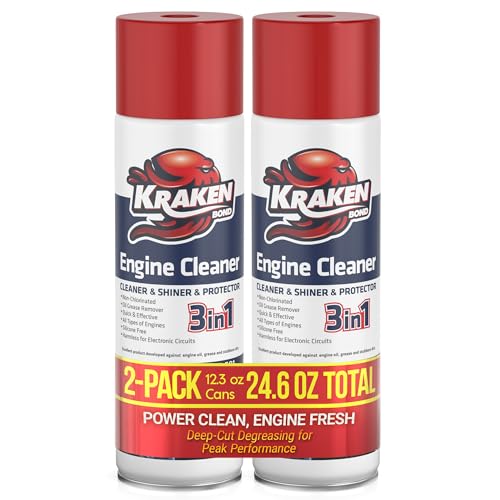
- Applying Degreaser to the Engine Bay
- Scrubbing and Cleaning Stubborn Grime
- Rinsing and Drying the Engine Bay
- Applying Protectants and Final Inspection
- Frequently Asked Questions
- Final Thoughts
Main Points
- Ensure the engine is completely cool and disconnect the battery’s negative terminal before starting cleaning to prevent burns and electrical hazards.
- Remove loose debris using a vacuum or air compressor, then apply degreaser and use a soft brush to loosen grime safely.
- Cover sensitive components like the air intake and alternator with plastic bags to protect them during low-pressure rinsing.
- Rinse the engine bay gently from back to front, blow out water with compressed air, and wipe dry with microfiber towels.
- Apply plastic and rubber protectants evenly after drying to preserve materials and perform a thorough inspection for leaks or damage.
Importance of Cleaning Your Engine Bay

Cleaning your engine bay plays an essential role in maintaining your vehicle’s performance and longevity. By removing dirt and grime, you’ll protect sensitive components from corrosion and electrical issues that can compromise functionality. A clean engine bay helps enhance airflow, improving heat dissipation and maintaining ideal operating temperatures, which directly supports engine efficiency. It also allows you to spot leaks or damage early, enabling preventive maintenance that prevents costly repairs and breakdowns. Keeping this area tidy isn’t just about aesthetics—it grants you better visibility and access to critical parts, empowering you to take control of your vehicle’s upkeep. Regularly cleaning your engine bay is a precise, methodical step toward liberating yourself from unexpected mechanical failures and extending your car’s life.
Essential Tools and Supplies for Engine Bay Cleaning

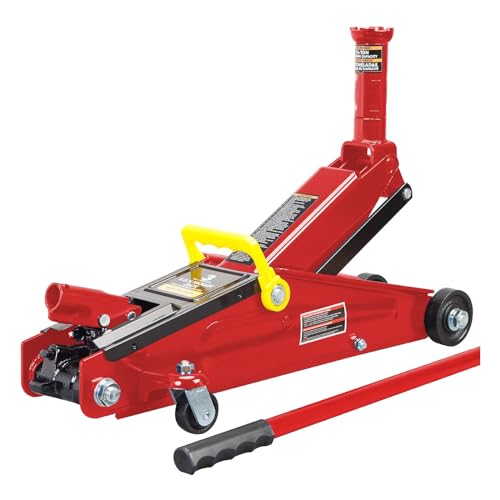
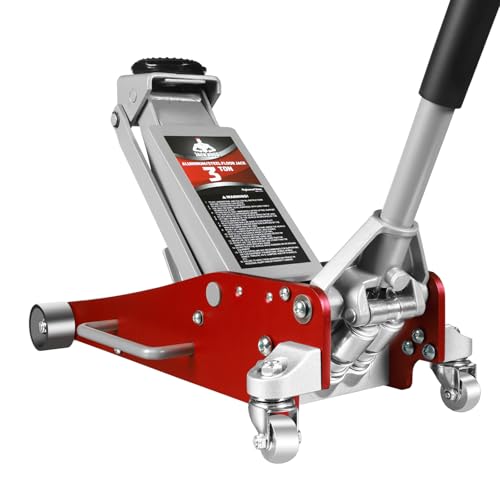
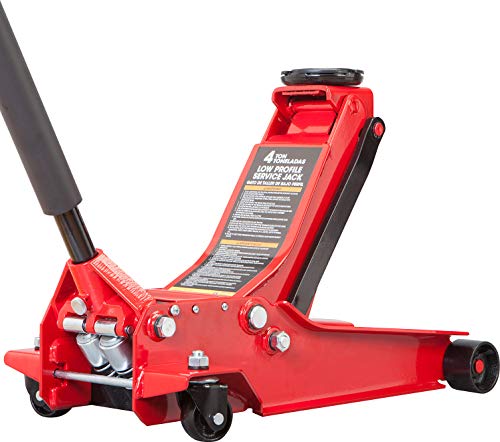
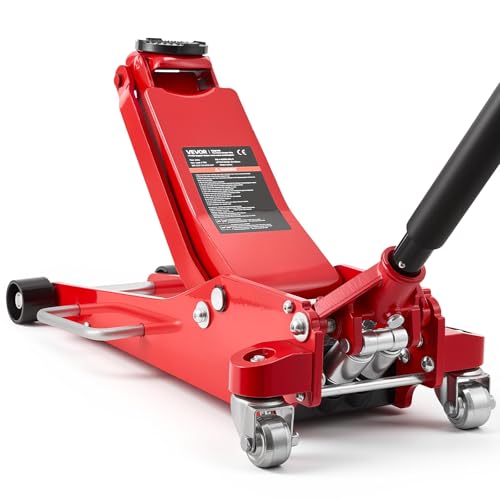
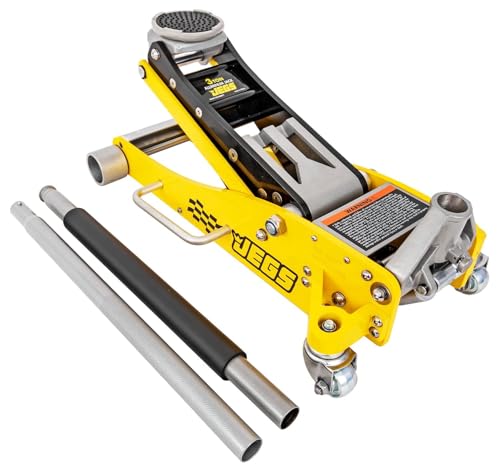
Proper preparation requires gathering specific tools and supplies to guarantee an efficient and safe engine bay cleaning process. Essential tools include a vacuum cleaner or air compressor to remove debris without damaging components. Use a soft-bristled brush combined with a degreaser spray to break down stubborn grease and grime effectively. Protect sensitive parts like the alternator and fuse box by covering them with plastic bags, preventing water intrusion during rinsing. For hand cleaning, prepare a bucket with hot, soapy water and utilize microfiber towels to dry surfaces thoroughly, ensuring no residue remains. Don’t forget rubber gloves to shield your hands from sharp edges and harsh chemicals. This precise toolkit empowers you to liberate your engine bay from contaminants methodically and safely. For added safety and convenience, consider using a quality floor jack when lifting your vehicle, as it provides robust support and stability during maintenance tasks.
 How to Remove Pet Hair From Car Upholstery
Preparing Your Vehicle for Engine Bay Cleaning

Before you start, make certain the engine is completely cool to prevent burns and avoid damaging sensitive components. Begin by disconnecting the battery’s negative terminal to eliminate electrical hazards. Next, thoroughly inspect the engine bay for loose wires or hoses that might get damaged. Prepare to cover sensitive components like the air intake, alternator, and fuse box with plastic bags. Choose a warm, low-humidity day to facilitate drying and avoid moisture buildup. If you need to raise your vehicle for better access, consider using a 3-ton capacity jack designed for SUVs and trucks to ensure stability and safety.
| Step | Action | Purpose |
|---|---|---|
| 1 | Make certain engine is cool | Prevent burns and damage |
| 2 | Disconnect battery | Avoid electrical issues |
| 3 | Inspect engine bay | Identify loose/damaged parts |
| 4 | Cover sensitive components | Protect from water and cleaners |
| 5 | Choose warm, dry day | Facilitate drying |
Protecting Sensitive Components Before Cleaning

While preparing to clean your engine bay, you must identify and securely cover sensitive components like the alternator, ECU housing, and air intake with plastic bags to prevent water damage. Start by inspecting exposed wiring for cracks or wear; reinforce these areas with electrical tape or additional plastic bags. Carefully seal all openings in the air intake system to block water ingress during rinsing. Use sturdy grocery bags or specialized plastic coverings to shield electrical components vulnerable to moisture exposure. When rinsing, apply a low-pressure water source near these protected zones to minimize risk. Protecting sensitive components methodically guarantees you liberate your engine bay from dirt without compromising critical systems, maintaining both functionality and safety throughout the cleaning process.
Removing Loose Debris and Dirt

Once you've secured the sensitive components, start by removing loose debris and dirt from the engine bay using a vacuum cleaner or air compressor. This step is essential to an effective cleaning process, preventing dirt from spreading and simplifying later tasks. Use a soft brush to agitate stubborn grime, allowing you to remove it more efficiently. Wear rubber gloves for safety and hygiene. Removing loose debris early liberates you from excessive scrubbing later, revealing issues that might be hidden beneath. Adopt this methodical approach to reclaim control over your engine bay.
Start by clearing loose debris with a vacuum and soft brush to simplify cleaning and uncover hidden issues.
- Eliminate loose debris to enhance cleaning precision
- Use a soft brush for delicate agitation
- Protect your hands to maintain focus and safety
- Lay groundwork for an effective, thorough cleaning process
Applying Degreaser to the Engine Bay
Although you've cleared away loose debris, applying a degreaser specifically designed for engine bays is essential to break down embedded grease and grime effectively. First, verify the engine bay is cool to the touch to protect sensitive components and avoid damage. Choose a quality degreaser like GUNK® Original Formula, then generously spray it over all surfaces, focusing on heavily soiled areas. Allow the degreaser to dwell for 10-15 minutes, letting it penetrate and loosen dirt. Avoid scrubbing at this stage to prevent harm. After the dwell time, prepare to rinse off the degreaser thoroughly. By following this methodical approach, you liberate your engine bay from stubborn grime while safeguarding delicate parts, setting the stage for deeper cleaning without risking damage.
Scrubbing and Cleaning Stubborn Grime
Scrub stubborn grime using a small synthetic-bristle brush to reach tight areas without damaging components. Apply enough pressure to lift dirt but protect sensitive components. For heavy grease, apply degreaser and let it sit 10–15 minutes before scrubbing. Change your cleaning water frequently to avoid reapplying grime.
Use a synthetic-bristle brush and degreaser to lift grime carefully without harming sensitive engine parts.
- Target intricate edges with a toothbrush for thorough scrubbing
- Use synthetic bristles to prevent scratching delicate surfaces
- Focus on one section at a time for controlled cleaning
- Avoid oversaturating sensitive electrical parts during scrubbing
This methodical approach liberates your engine bay from persistent grime, ensuring every crevice is clean. After scrubbing, prepare to rinse carefully to remove loosened dirt and degreaser without compromising sensitive components.
Rinsing and Drying the Engine Bay
After effectively loosening grime with careful scrubbing, you’ll need to rinse the engine bay to remove degreaser and residual dirt. Use a low-pressure water source, directing flow from the back to the front to avoid saturating sensitive electrical components. If grease persists, reapply degreaser and scrub again before rinsing. Once rinsed, deploy compressed air to expel trapped water, particularly from hard-to-reach crevices. Finally, wipe accessible areas with a shop towel to completely dry the engine bay and prevent corrosion or electrical faults. For added convenience and to keep your workspace tidy, consider using oil drain pan spill prevention features when collecting any dripping fluids during the rinse process.
 Top 3 Eco-Friendly Products for Auto Detailing
| Step | Action | Notes |
|---|---|---|
| 1 | Use low-pressure rinse | Protect sensitive electrical parts |
| 2 | Rinse back to front | Guarantees thorough degreaser removal |
| 3 | Reapply degreaser if needed | Target stubborn grime |
| 4 | Blow out water with compressed air | Avoid moisture-related damage |
| 5 | Wipe down accessible surfaces | Complete drying process |
Applying Protectants and Final Inspection
After thoroughly drying the engine bay, apply a protectant like 303 Aerospace to all plastic and rubber components to prevent UV damage and restore their appearance. Use a small brush to reach tight spaces and guarantee even coverage. Finally, conduct a detailed inspection of all engine parts and electrical connections to confirm cleanliness and secure fittings before operation.
Plastic and Rubber Conditioning
Because plastic and rubber components in the engine bay are vulnerable to UV damage and drying, you should apply appropriate protectants and conditioners to maintain their integrity. Start by applying a plastic protectant like 303 Aerospace evenly, using a toothbrush to reach sensitive areas and tight edges. Lightly coat rubber components with a suitable conditioner to prevent cracking and prolong lifespan. After application, guarantee no residue remains on electrical connectors or other sensitive areas. This methodical approach liberates you from premature material degradation. Remember to:
- Apply protectants with precision and care
- Use tools to access intricate designs
- Avoid residue on sensitive components
- Reapply regularly to preserve appearance
For those working in tight engine bays, using tools designed for compact and portable applications—such as those used in top-rated bottle jacks—can help you safely reach difficult spots without risk of damage. This disciplined routine preserves your engine bay’s durability and aesthetic freedom.
Post-Cleaning Engine Inspection
Once you’ve thoroughly cleaned the engine bay, apply a plastic protectant like 303 Aerospace to all plastic components to enhance both shine and durability. Use a toothbrush to reach tight edges and intricate designs, ensuring even coverage without missing spots. After applying the protectant, conduct a meticulous post-cleaning inspection of all engine components. Check for any signs of damage, residue, or remaining grime that could compromise performance. Pay special attention to electrical connections, hoses, gaskets, and seals—verify their tightness and look for leaks. Finally, start the engine and listen attentively for abnormal sounds or smells that might signal issues introduced during cleaning. This methodical final inspection confirms your engine bay is clean, protected, and ready for peak operation without risking damage.
Frequently Asked Questions
What Is the Best Way to Clean an Engine Bay at Home?
You should use safe cleaning products and proper cleaning tools needed to follow engine maintenance tips. Develop an engine care routine applying engine detailing techniques methodically, ensuring thorough, precise cleaning that frees your engine bay from grime while protecting sensitive components.
What Is the Best Homemade Engine Cleaner?
Think of homemade cleaners as your engine’s liberation tools. Use natural ingredients like vinegar, baking soda, and dish soap blended carefully. Apply precise cleaning techniques and safety precautions, ensuring your engine degreasers work effectively without harming components.
What Household Cleaner Can I Use for Engine Bay?
You can use eco-friendly engine degreaser options like diluted dish soap or Simple Green, ensuring safe cleaning methods. Avoid common cleaning mistakes by testing first and following detailing tips for thorough, damage-free engine bay care.
Can I Use Dawn Dish Soap to Clean My Engine Bay?
Did you know 90% of engine grease can resist water alone? You can use Dawn for its effectiveness, but combine precise cleaning tools and safety precautions to avoid water damage and liberate your engine bay from grime safely.
Final Thoughts
By following these steps, you’ll protect sensitive components, remove dirt and grime, and restore your engine bay’s cleanliness efficiently. You’ll prepare your vehicle thoroughly, apply degreaser carefully, scrub stubborn areas methodically, rinse completely, and dry meticulously. Finally, you’ll apply protectants evenly and inspect thoroughly. Stay precise, stay methodical, and maintain consistency—this approach guarantees a clean engine bay that improves performance, prevents damage, and extends your vehicle’s lifespan.
 What Is the Best Cleaning Routine for Professionals?
Reliable Floor Jacks on a Budget: Best Picks for Under $150
Top-Rated Floor Jacks Over $100: Built for Professionals, Priced for Smart Buyers
If you want to know other articles similar to Engine Bay Cleaning: Step-by-Step DIY Guide you can visit the Car Detailing Services category.
What Is the Best Cleaning Routine for Professionals?

Top 3 Eco-Friendly Products for Auto Detailing

How to Remove Pet Hair From Car Upholstery

Top Beginner Detailing Tips for a Pristine Ride

What Sets Mobile Detailing Apart for Luxury Cars?

3 Best Methods to Deep Clean Car Interior

Effective Ways to Remove Stains From Car Seats

What Are the Most Affordable Car Detailing Services?
Leave a Reply
This is also interesting